Article
All About Dip Powder: A Healthy Alternative to Acrylic Nails
If you like a durable and long-lasting manicure and always opt for acrylic nails, you may be missing out on one of the best trends -- dip powder nails...
Learn moreThe Best Nail Colors For Every Skin Tone
The great thing about nail polishes is that there are really no rules. You can choose whatever color of nail polish your heart desires depending...
Learn moreThe Ultimate Guide for a DIY Dip Powder Manicure
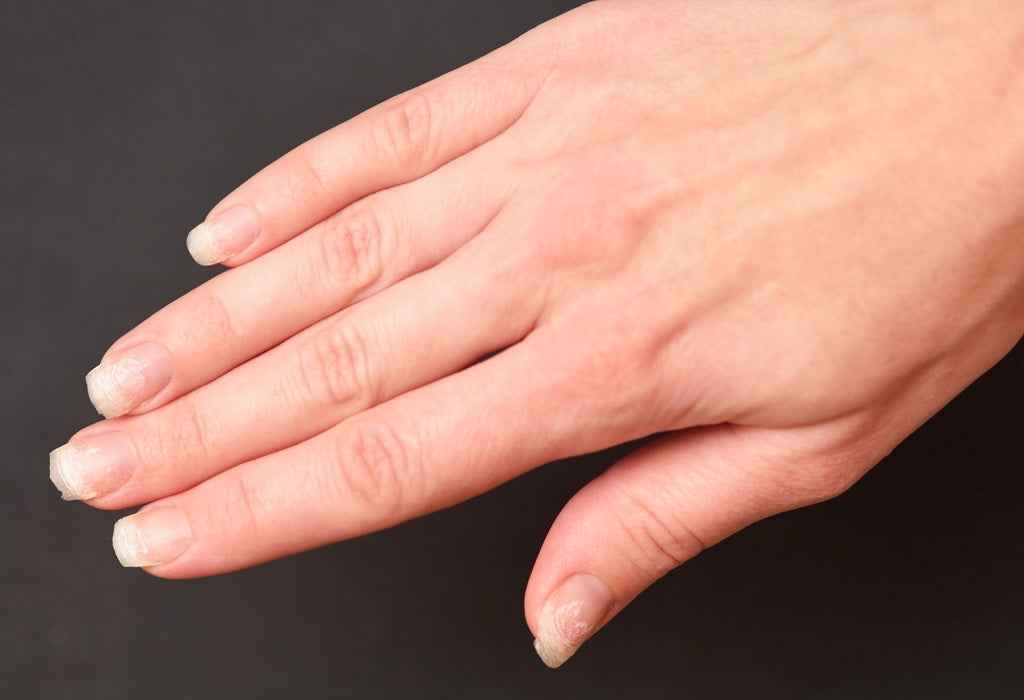
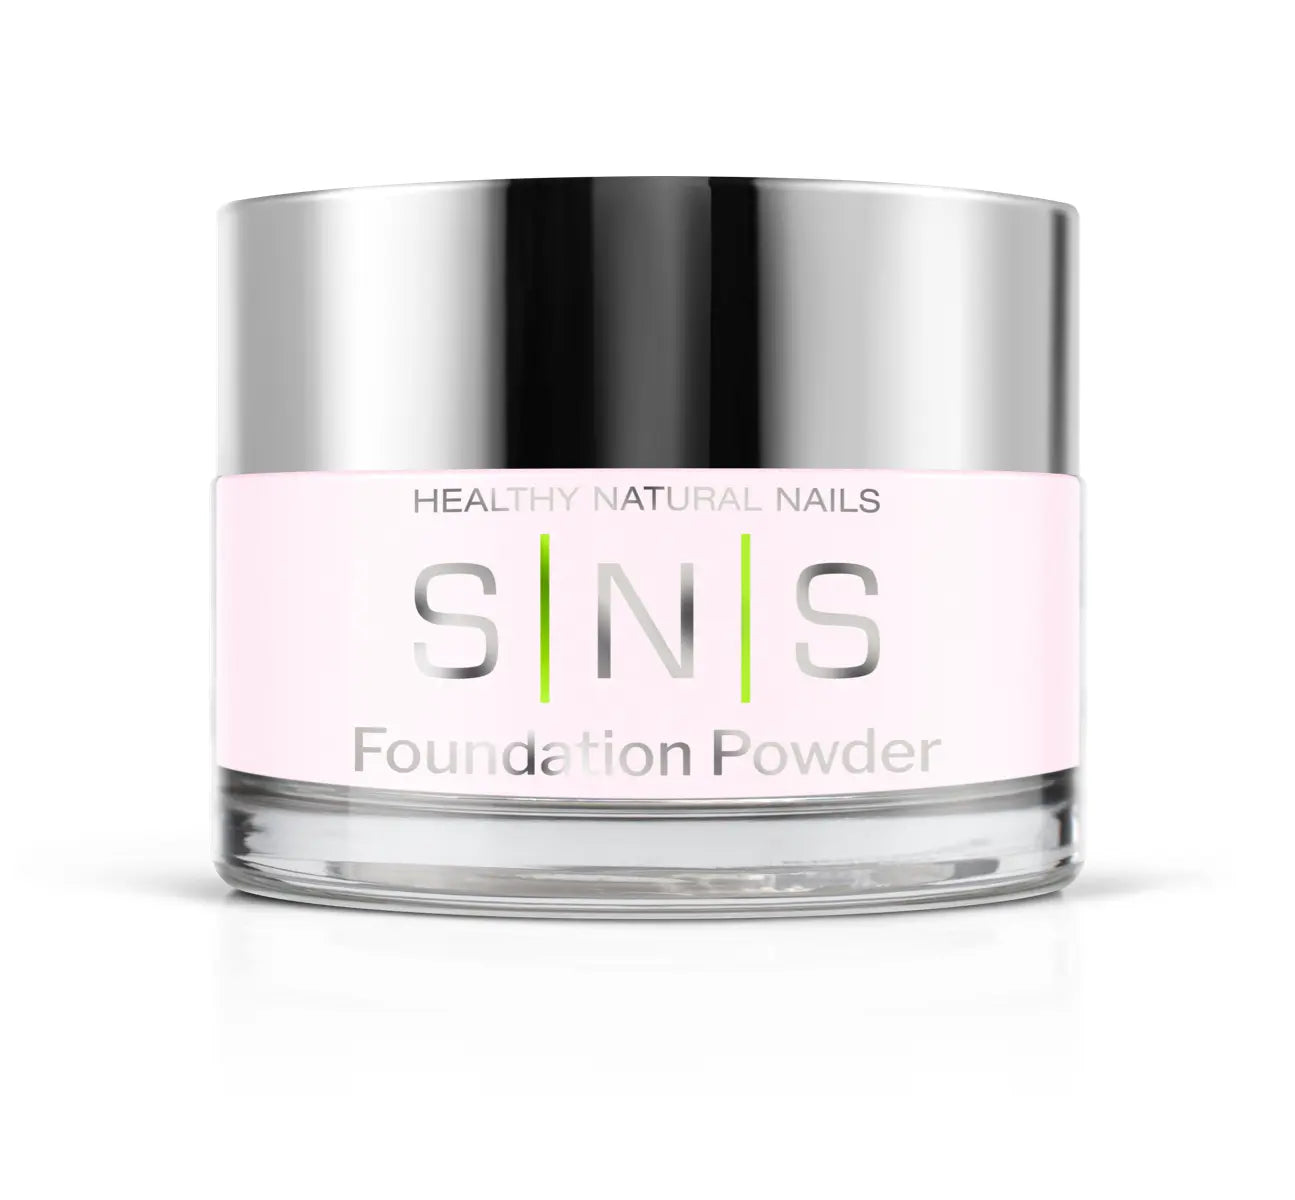
Most of us desire stunning, flawless nails, but regular professional manicures can be pricey and some may not even have the time or patience for bi-weekly nail appointments. If you want a salon-worthy manicure without having to go to the salon, you're in luck because we've created the SNS Dip Powder Kit to get beautiful, salon-worthy nails right at home. Our at home dip powder kit comes with everything you’ll need to give yourself the ultimate dip powder manicure. Continue reading below for all the expert tips and tricks to ensure your at home dip powder nails look like you just came from the salon. Prep Nails Prepping your nails for any kind of manicure is essential as it creates the perfect canvas for your manicure, whether you're applying gel polish, lacquer, or dip powder. Prepping results in a smooth, even, and long-lasting manicure. First, you’ll want to remove any previously applied nail products. If you have gel polish or dip powder currently on your nails, check out our guide on how to properly remove it. Once you’ve safely removed any nail products you can begin with your nail prep. Clean Before beginning your manicure, it’s important to make sure your nails are clean by washing your hands. Then, using a cuticle pusher, gently push back your cuticles. This will help create a smooth surface around your nail beds and give the illusion of a longer nail. When it comes to cuticles, it’s recommended to never cut your cuticles. Cutting them can potentially put you at risk for infection and can also cause your cuticles to grow back jagged and hard. You’ll also want to clean any debris underneath your nails as well. File Once you’ve properly cleaned your nails, it’s time to create the perfect shape. Using nail clippers cut any excess length and then using a gentle nail file, file the tips of your nail starting from the outside corner to the center and repeating on the other side. Avoid using a back-and-forth sawing motion as this can weaken your nail and cause them to split or tear. To find the perfect shape, look at our guide to see what your nail shape says about you. Buff After filing, gently buff each nail to a smooth, even finish. Buffing removes any imperfections, lines, or ridges in your nail and creates the perfect canvas for your dip powder or polish to adhere to. After you finish buffing, wipe each nail with a cotton pad with alcohol or acetone to remove oils or residue. Apply Dip Powder Manicure Now that your nails are prepped, you can begin your dip powder application. Base Coat (Purple Cap) and Foundation Beginning with one hand at a time, apply a thin layer of Dip Base Coat to 3/4 of your nail. Immediately dip each nail into the Foundation Powder at a 45 degree angle. Remove your nail from the pot and tap your finger to remove excess powder. Once all nails have been dipped, use the Dip Powder Dust Brush to remove any excess powder around the nails. Add a second layer of Dip Base Coat up to but not over the cuticle line, followed by dipping each nail into the Foundation Powder and tapping to remove excess. Colored Dip Powder Apply another thin layer of Dip Base Coat up to but not over the cuticle line. Dip each nail into your desired colored dip powder at a 45 degree angle up to the cuticle line. Once all nails have been dipped, remove any excess powder around your nails with the Dip Powder Dust Brush. Apply a second layer of the Dip Base Coat and colored dip powder in the steps described above. Activator (Gray Cap) Apply Dip Activator to your entire nail, which activates the hardening process. Before putting the brush back into the Dip Activator, wipe it clean on a lint-free paper towel to prevent any dip powder color from getting into the product. Wait 4 minutes for the Activator to dry completely. Use the end of the Dip Powder Dust Brush to lightly tap the nail. If you hear a clicking sound, the nail is dry. Using a nail file, gently shape and buff each nail to remove any bumps or ridges, then use a dust brush to remove any dust from your nails. Rinse and dry hands with water only. Do not use soap. Apply a second coat of Dip Activatorand wait 3 minutes for your nail to dry completely. Top Coat (Red Cap) Apply a thin layer of Top Coat to your entire nail, ensuring you seal the edges of each nail and wait 3 minutes for your nails to dry. Apply a second layer of Top Coat to each nail and wait for it to dry completely. After Care While aftercare may not be necessary, it’s super important to keep your nails looking beautiful and healthy. Proper aftercare can even extend the length of your mani for over 2 weeks! Apply the Signature Serum (yellow cap) to the cuticle line of each nail and massage gently and apply a moisturizing hand cream. Follow our other expert tips to give your mani lasting power and ensure its always looking its best.
Learn more5 Spring Promotion Ideas to Bring Customers to Your Salon
At SNS, we're always focused on supporting our professional salon owners and nail techs not only in nail care but in business as well...
Learn moreSay Yes to These Wedding Nails
SNS's collection, Say Yes, a selection of 24 romantic colors that were curated specifically for your big day of love,...
Learn moreThe Hottest Nail Art for Your Next Music Festival
When the weather begins to heat up, so does festival season -- the time of great music line-ups, a lot of laughs, and more recently, super cool outfits. While you may have your festival ensembles pinned and saved in your phone or already meticulously placed in your closet, one thing you shouldn't overlook is your nails. And when it comes to festival nails, we say, the bolder the better. Because when things get a little muddy and a lot of sweaty, a bold mani somehow makes everything look a bit more put together. From retro florals and tie-dye to mini mushrooms and the perfect touch of glitter, here are the hottest nail art ideas for your next music festival. The Hottest Nail Art for Your Next Music Festival Glitter Galaxy Photo Credit: @nails_and_soul on Instagram Because is it even a festival without a little glitter? Peace and Hearts Photo Credit: @thehangedit on Instagram Yin Yangs are trending as of late and we're absolutely loving this floral variation. Choose any bold or bright color scheme for fun and peaceful vibes perfect for any festival. Retro Tie Dye Photo Credit: @danvar.ar on Instagram Get a little nostalgic with this modern take on retro tie-dye fit for a music festival. Smiley Graffiti Photo Credit: @amyle.nails on Instagram If you're excited about a festival, show it by donning smiles in bright graffiti. Total Tigress Photo Credit: @lolo.nailedit on Instagram Because we'll never say no to animal print. Switch up the typical leopard or zebra print and opt for a sexy tiger. Too Hot to Handle Photo Credit: @onyxfiles on Instagram We love this flame nail art. These nails are so hot and the colors are so unexpected. Psychedelic Hearts Photo Credit: @bluesy_nails on Instagram Share the love at the next festival with these purple psychedelic hearts. Flower Power Photo Credit: @overglowedit on Instagram Make an ode to the original music festival with this retro flower mani that’s giving us total Woodstock vibes. Iridescent Neon Marble Photo Credit: @lolo.nailedit on Instagram Can't decide on one neon shade? Good news, you don't have to. Mix and match a few of your favorites instead. To get this look, ask your nail tech about SNS DOLO Instant Marble. Superstar Mani Photo Credit: @overglowedit on Instagram Because the bands aren't the only stars at the festival. Mini Mushroom Trip Photo Credit: @amyle.nails on Instagram We're crazy about this modern take on french with the cutest mini mushrooms. From jewelry and apparel to stationery and ceramics, mushroom accessories are super popular right now, and we can't think of a better time to wear them than at a music festival.
Learn moreEasy Nail Art Trends You Can Do at Home
A quick scroll through Instagram and you can see how creative nail art is trending right now. Your favorite SNS salon will have many...
Learn moreThe Complete Guide to Salon Reviews
At SNS, we’re committed to supporting salon owners and nail techs in their business just as much as we are to providing superior nail care...
Learn moreMust-Have Summer Nails
If you're looking for summer nail inspiration, we've got you covered. From bold and bright pinks and yellows...
Learn more


