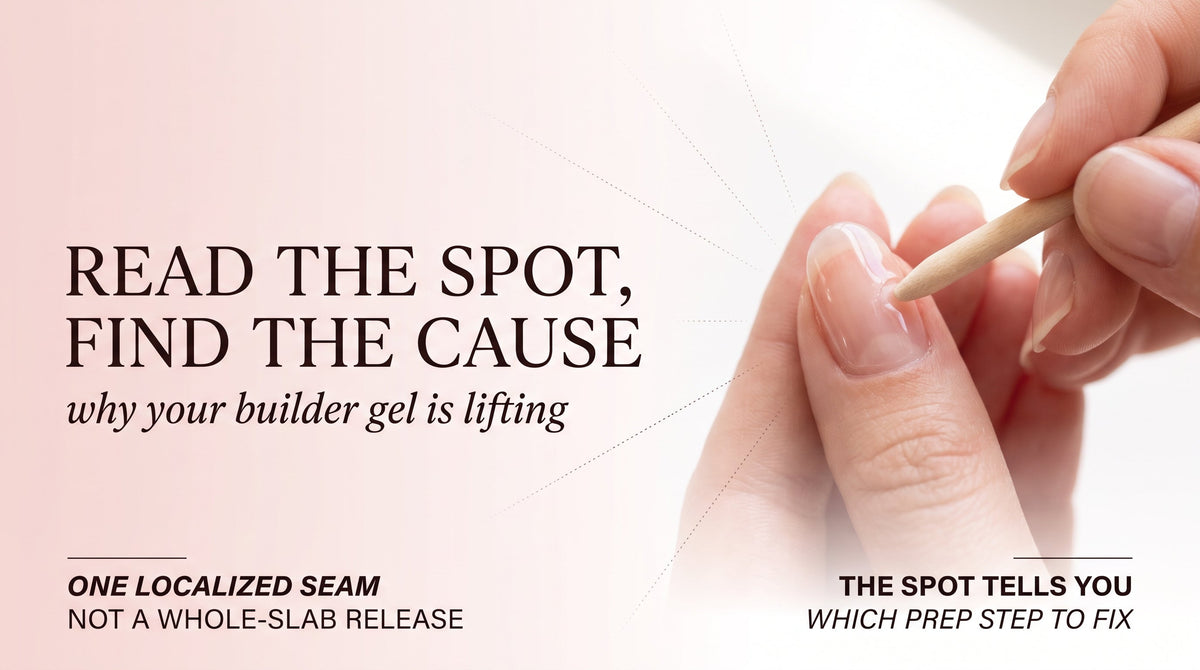
Builder gel lifting is not random. It opens at the spot on your nail where the bond was weakest, and the spot tells you which prep step got shortened. A lift at the cuticle means the cuticle remover never got its 30 seconds. A lift in the middle means the dehydrator dried, then sat for five minutes. A lift at the free edge means the top coat never capped. Read the spot first. Then fix the step.
Standing in the kitchen holding a nail that lifted, the first instinct is to ask what went wrong with the bottle. Builder gel lifting almost never traces to the bottle. It traces to the step just before the bottle opened, and the exact spot where the lift appears points directly at that step.
What Builder Gel Lifting Actually Means
Lifting is an opened seam at one part of the nail. A gap at the cuticle, a bubble under the middle, a corner that pulls up. The rest of the overlay is still bonded. A wooden orange stick pressed at the lift shows a small gap, but nothing pops off as a whole piece.
That is the diagnostic separator. The whole slab coming off as one piece is peeling, a plate-surface problem that needs a different fix. A seam opening at one spot is lifting, a local prep problem. The two look alike to a new DIY home user, but they route to different checklists. The peel-off article covers the whole-slab case. This one is for the spot lifts.

The See, Test, Timing Rule for Builder Gel Lifting
Before opening the cabinet for a new bottle, log three facts.
See. Take a photograph of the lifted spot. The exact location on the nail plate is the biggest clue to which step got cut.
Test. Press gently at the edge of the lift with a wooden orange stick. Confirm that only the edge moves. The rest of the overlay stays put.
Timing. When did it open. Inside the first three to five days means a bond problem that happened during application. Only after the natural nail has grown out visibly past the cuticle line means the lift is near-natural growth, not a bond failure.
Builder Gel Lifting at the Cuticle: The 30-Second Timer You Skipped
The cuticle area has the cleanest bond when a thin film of dead tissue has been removed from the plate before the first layer goes down. The step that removes that film is not pushing. It is the cuticle remover solution sitting on the tissue for thirty to sixty seconds before the push.
Two shortcuts cause the same cuticle lift. Push the cuticle without letting the remover dwell, and the film stays on the plate. Dry wipe the remover off a second after applying, same result. The film stays, the gel lays on dead tissue instead of live plate, and the bond opens at the base within days.
The fix next time. Apply cuticle remover. Set a kitchen timer for forty-five seconds. Wet-push with an orange stick. Dry buff the film off gently. Then dehydrator.

Builder Gel Lifting in the Middle of the Nail: The 5-Minute Pause Problem
A lift that opens in the middle of the nail plate, away from any edge, is almost always a hydration problem. The plate holds interior moisture, the surface wipes dry during buffing, and the moisture migrates back through the plate during cure. The gel ends up bonded to a plate that is wet underneath.
The dehydrator is the step that pulls that interior moisture out. It works correctly almost every time. The trap is what happens after the dehydrator dries.
The 5-minute pause. If the plate has been dehydrated and then set aside for five minutes, the dehydrator work is effectively undone. The plate starts pulling moisture back from the air within two minutes. By five minutes, the interior is wet again and the surface still looks chalky. Place gel on that plate and middle-of-nail builder gel lifting appears on day three.
The fix next time. Dehydrator, air-dry 30 to 60 seconds, bond or base coat immediately. No answering the phone, no bathroom break, no setting down the brush to text. Dehydrator and base are one continuous move.

Builder Gel Lifting at the Sidewalls and Corners
Sidewall lifts and corner lifts share a cause. The gel ran right up to the skin, the cure happened, and the gel bonded to a sliver of skin at the sidewall or to the loose edge of the eponychium at the corner. Skin is not plate. Any gel bonded to skin breaks away within days.
The home fix. Keep a 1-millimeter margin from all skin. The brush does not touch sidewall tissue. The brush does not touch the eponychium. If the gel pools at the sidewall before cure, drag a dry brush from the pool back toward the center of the nail. A small gap of exposed plate at the sidewall is far better than gel touching skin.

Builder Gel Lifting at the Free Edge: Capping and the Green-Nail Warning
A lift at the free edge of the nail, right at the tip, almost always means the top coat never fully sealed over the end of the natural nail. Water gets in through the uncapped edge. Day by day, the water works under the overlay from the tip backward. What started as a thin tip chip is now a quarter-inch of lifted gel.
The cap step. Every top coat pass includes a swipe across the free edge, not just the surface. Hold the brush perpendicular and drag it along the end of the nail so a thin ribbon of top coat seals the tip.
The green-nail safety line. A free-edge lift left unresolved while hands are in water becomes a trap for bacteria. A greenish discoloration under the lifted gel is almost always a bacterial infection (pseudomonas) between the overlay and the plate. The American Academy of Dermatology notes pseudomonas infections under gel manicures have risen as home gel use has expanded.1 See a doctor. Do not file the green away.

Builder Gel Lifting as One Whole Stripe or Slab
A lift that runs the whole length of one side of the nail, or a slab that releases from a single end, is no longer a spot lift. That is the peel-off pattern, and the fix is different. The peel-off prep article covers the whole-slab case in detail: oily plates, acetone used as a dehydrator, and the plate-reading test that tells you whether the previous removal damaged the surface.
The two-second check that routes you to the right article: pry the lift gently with a wooden orange stick. Only the edge moves, rest stays bonded, you are in the right place for this article. Whole piece tents up as one slab, read the peel-off article instead.

Bond vs Primer vs Dehydrator: The Builder Gel Lifting Mix-Up
A common builder gel lifting repeat shows up when a home user bought two bottles that both look like the same step. Two dehydrators in a row and no real bond. A primer used in place of a dehydrator. A bond coat skipped because the primer label looked bonder-shaped.
The three jobs, cleanly separated:
- Dehydrator. Pulls interior moisture out of the plate. Air-dries quickly. Plate chalks white.
- Primer (acid or acid-free). Chemically etches the plate surface for a bond-ready texture. Not a replacement for dehydrator. Acid primers can burn skin, so keep a margin.
- Bond coat. A thin resin layer that chemically links the plate to the first builder gel layer. Cures under the lamp. Not a drying step.
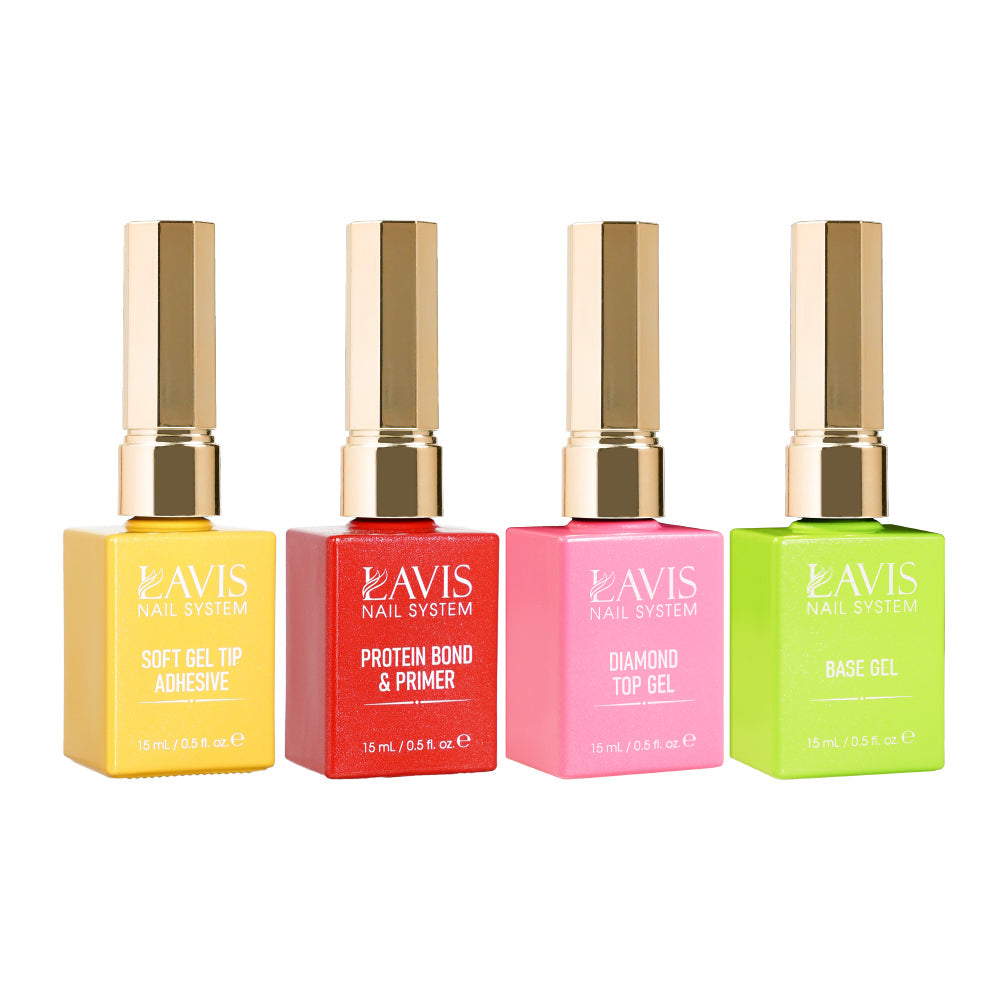
Running two dehydrators and no bond coat is the single most common misdiagnosed lift. Both bottles were in the kitchen. Only one job got done. Take a look with our "LAVIS Gel Base, Diamond Top, Protein Bond & Primer, Soft Gel Tip Adhesive - 0.5 oz Set"
Thin Layers vs Meagre Coats: Builder Gel Lifting from Overcorrecting
After one bad lift, the next home set tends to overcorrect in one direction: everything gets thinner. That overcorrection causes its own builder gel lifting pattern. One meagre coat of gel that never builds up produces a surface that bumps lift from any small knock, especially at the tip and sidewalls.
What thin actually means. Thin per layer. Each layer dot-and-spread, cured fully, then the next layer. The target thickness, enough to hold an edge, is reached in two to three layers, not one meagre pass.
Early vs Late Builder Gel Lifting Timing
The timing of the lift tightens the diagnosis.
Day 1 to day 5. Bond failure during application. Prep step cut. Look at the spot first. Fix that step on the next set.
Day 7 to day 14. Daily habits finish off a borderline set. Hot showers right after the set, acetone hand sanitizer, prying open packaging with the nail as a tool. Change the habit before you change the technique.
Day 15 and beyond. Natural growth, often not a failure at all. The natural plate has pushed the overlay forward, and what looks like a lift at the cuticle is just honest growth. NAILS Magazine coverage of gel wear cycles notes that a correctly prepped home set reaches the natural growth boundary around two weeks, after which fills or soak-off are the expected moves.2
Builder Gel Lifting FAQ for DIY Home Sets
How do I tell builder gel lifting from peeling?
Pry the edge with a wooden orange stick. Only the edge moves, rest stays bonded: lifting. Whole slab tents up as one piece: peeling. Two different fixes.
Can builder gel lifting at the cuticle be filled, or do I have to soak off?
A clean small lift can be filed back to a solid bond edge, prepped at that spot, and filled. A large lift or one that catches on anything should soak off and get a fresh prep.
Why did my builder gel lift at one corner only?
Almost always because gel touched skin at that corner before cure. Keep a 1-millimeter margin from all skin on the next set.
Will a bond coat fix my lifting?
Only if the bond coat replaced a missing step, not if it was added on top of correct prep. Check that dehydrator, primer (if used), and bond coat are three different jobs, not two of the same step.
What does a green spot under lifted gel mean?
A bacterial infection called pseudomonas, often from water trapped under an unresolved free-edge lift. See a doctor. Do not try to treat it under the overlay.
If my builder gel lifted after two weeks, did my prep fail?
Probably not. By day 15 and beyond, the natural plate has grown forward enough that the overlay is sitting on new plate near the cuticle. That pattern is natural growth, not application failure.
Related Reading
- Builder Gel Troubleshooting: Find the Cause by the Symptom
- Why Does My Builder Gel Peel Off? The Prep Steps to Check
- Builder Gel on Natural Nails: Who It Suits Best
- SNS DIY Tool Kit Guide: Files, Brushes, E-File Safety
- How to Remove Builder Gel at Home Without Damage
Sources
- American Academy of Dermatology. Pseudomonas infections under gel manicures and home gel use. aad.org
- NAILS Magazine. Gel wear cycles, prep timing, and natural growth boundaries. nailsmag.com
About the author
Alan Nguyen writes DIY nail chemistry explainers at SNS Nails. He focuses on the prep chain, cure fundamentals, and the small timing details that make or break a home gel set.
Reviewed by
Thao Vu, licensed nail technician based in Westminster, CA. Specializes in builder gel diagnostics, prep-chain audits, and overlay troubleshooting for home users.
Michelle Tran, DIY nail content educator based in Houston, TX. Covers home gel application, dip powder crossover, and symptom-chart style triage for self-care.