


Type: Dip-Only Powder
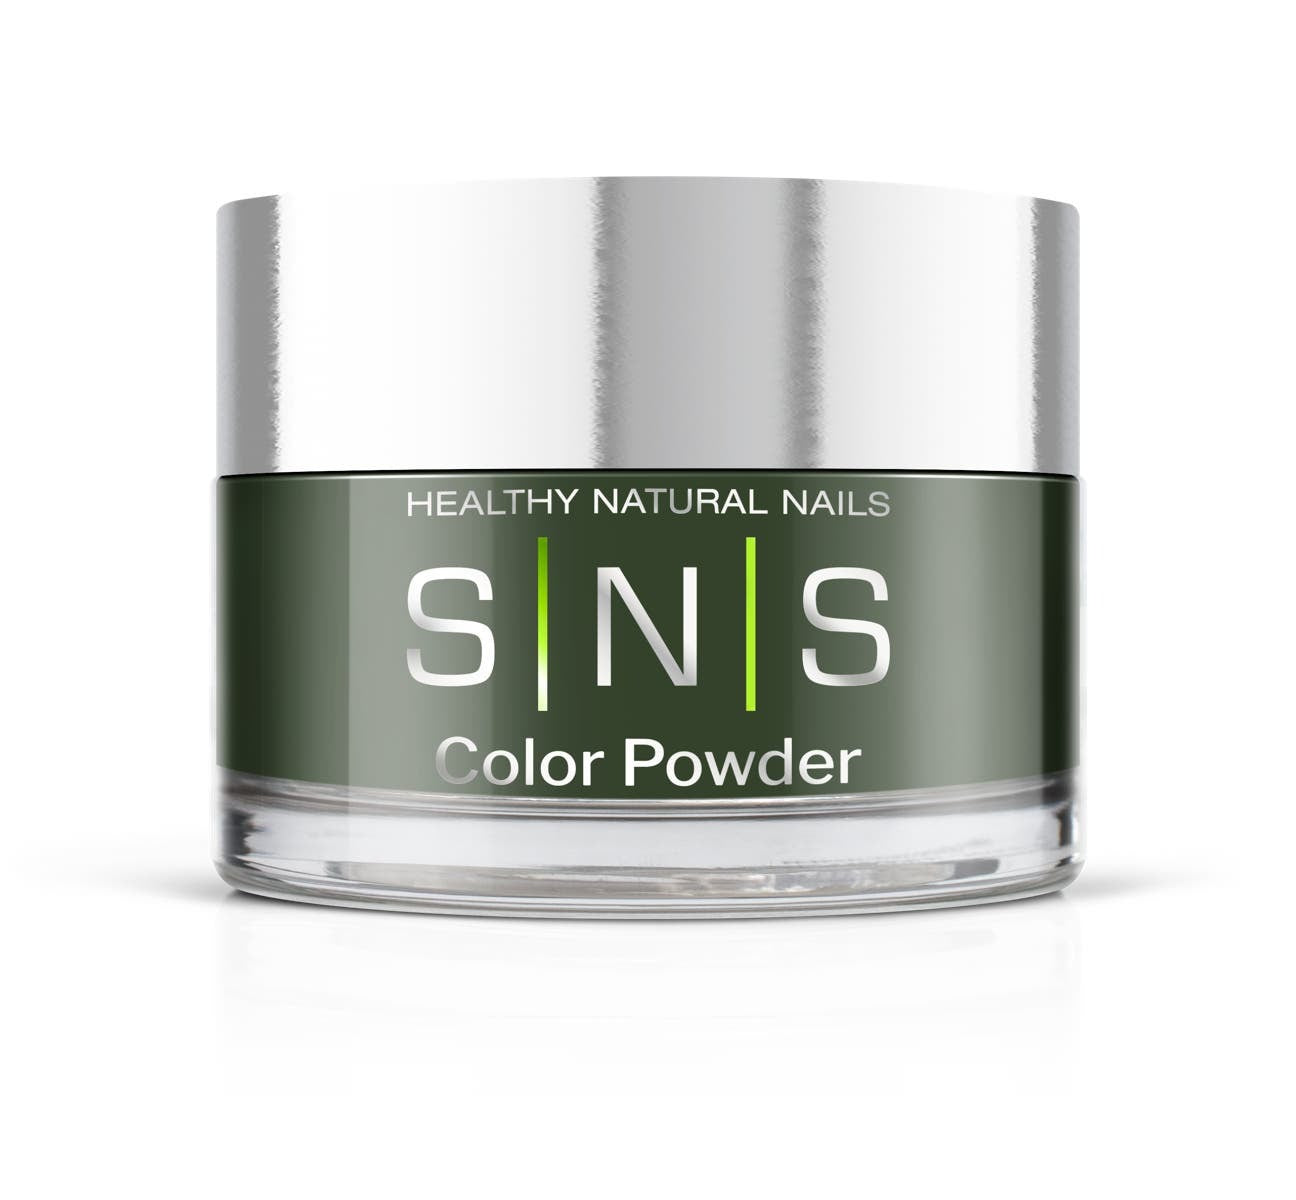
SNS Dip-Only Powder - Emerald Guac (AKA: Green Eggs & Ham) - Green, Black Cream Colors - 0.5oz (DIY)

Type: Dip-Only Powder
SNS Dip-Only Powder - Emerald Temple - Green Cream Colors - 0.5oz (DIY)

Type: Dip-Only Powder
SNS Dip-Only Powder - Evinrude, Wake Up!- Green, Yellow Colors - 0.5oz (DIY)
Type: Dip-Only Powder
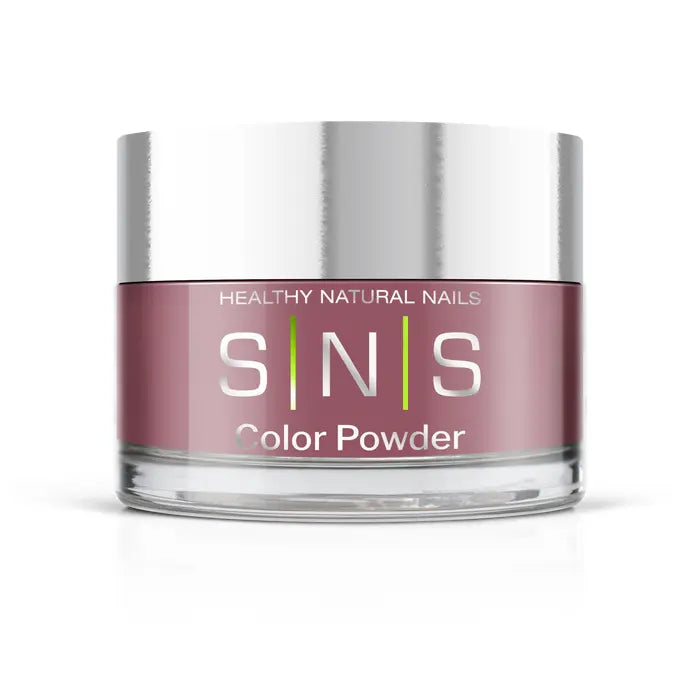
SNS Dip-Only Powder - Fairy Dust - Wine, Purple Cream Colors - 0.5oz (DIY)

Type: Dip-Only Powder
SNS Dip-Only Powder - Fake Bake - Nude, Brown Cream Colors - 0.5oz (DIY)

Type: Dip-Only Powder
SNS Dip-Only Powder - Fern Gully - Yellow Cream Colors - 0.5oz (DIY)

Type: Dip-Only Powder
SNS Dip-Only Powder - Flamenco Dress - Pink Cream Colors - 0.5oz (DIY)

Type: Dip-Only Powder
SNS Dip-Only Powder - Flashy Showgirl- Purple Cream Colors - 0.5oz (DIY)
Type: Dip-Only Powder
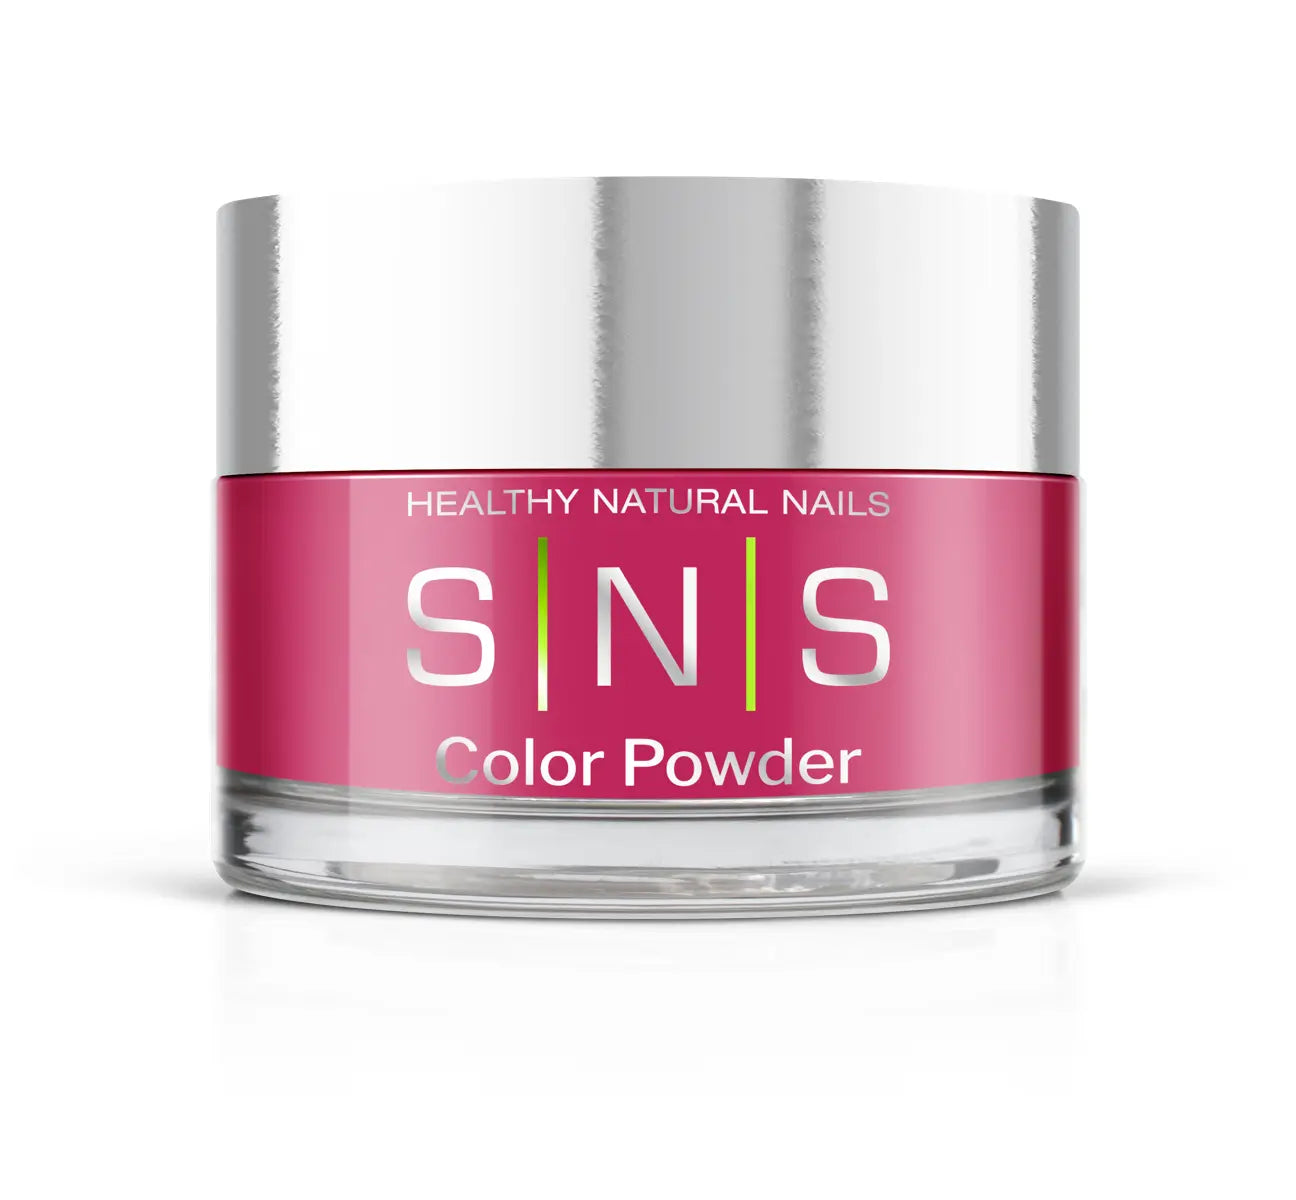
SNS Dip-Only Powder - Flirty- Pink, Purple Cream Colors - 0.5oz (DIY)

Type: Dip-Only Powder
SNS Dip-Only Powder - Glow Angel- Yellow, Orange Cream Colors - 0.5oz (DIY)

Type: Dip-Only Powder
SNS Dip-Only Powder - Got A Light?- Pink Cream Colors - 0.5oz (DIY)

Type: Dip-Only Powder
SNS Dip-Only Powder - Great Blue Hole - Blue Colors - 0.5oz (DIY)

Type: Dip-Only Powder
SNS Dip-Only Powder - Green Velvet- Green Shimmer Colors - 0.5oz (DIY)

Type: Dip-Only Powder
SNS Dip-Only Powder - Hatteras-Orange Cream Colors - 0.5oz (DIY)

Type: Dip-Only Powder
SNS Dip-Only Powder - Hawksbill Turtle- Pink, Red Cream Colors - 0.5oz (DIY)

Type: Dip-Only Powder
SNS Dip-Only Powder - He's A Fungi- Green Neon Colors - 0.5oz (DIY)

Type: Dip-Only Powder
SNS Dip-Only Powder - Hinoki Cypress - Brown Cream Colors - 0.5oz (DIY)

Type: Dip-Only Powder
SNS Dip-Only Powder - Honeymoon Blush - Nude, Peach Cream Colors - 0.5oz (DIY)

Type: Dip-Only Powder
SNS Dip-Only Powder - I Heart NY- White, Gray Cream Colors - 0.5oz (DIY)

Type: Dip-Only Powder
SNS Dip-Only Powder - Iguacu Falls - Blue Cream Colors - 0.5oz (DIY)
Type: Dip-Only Powder
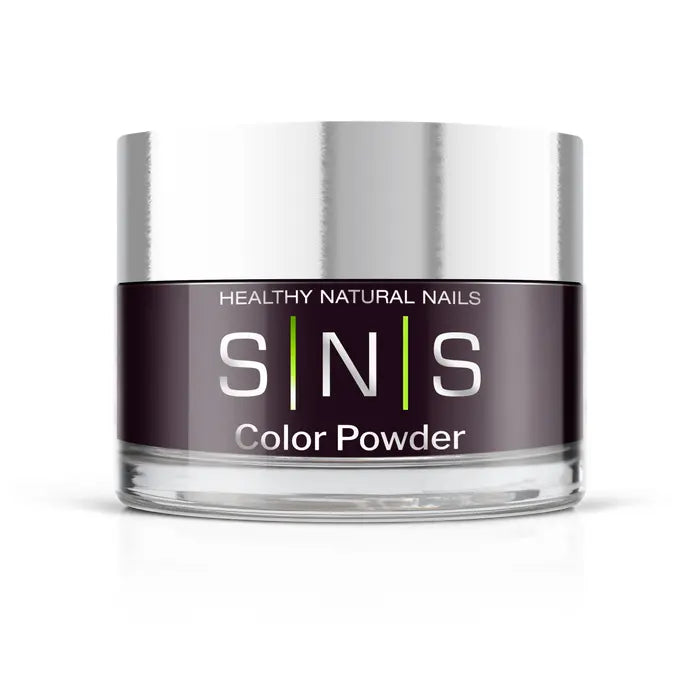
SNS Dip-Only Powder - Ink Tattoo - Purple Cream Colors - 0.5oz (DIY)

Type: Dip-Only Powder
SNS Dip-Only Powder - Innocent Glance - Nude Shimmer Colors - 0.5oz (DIY)
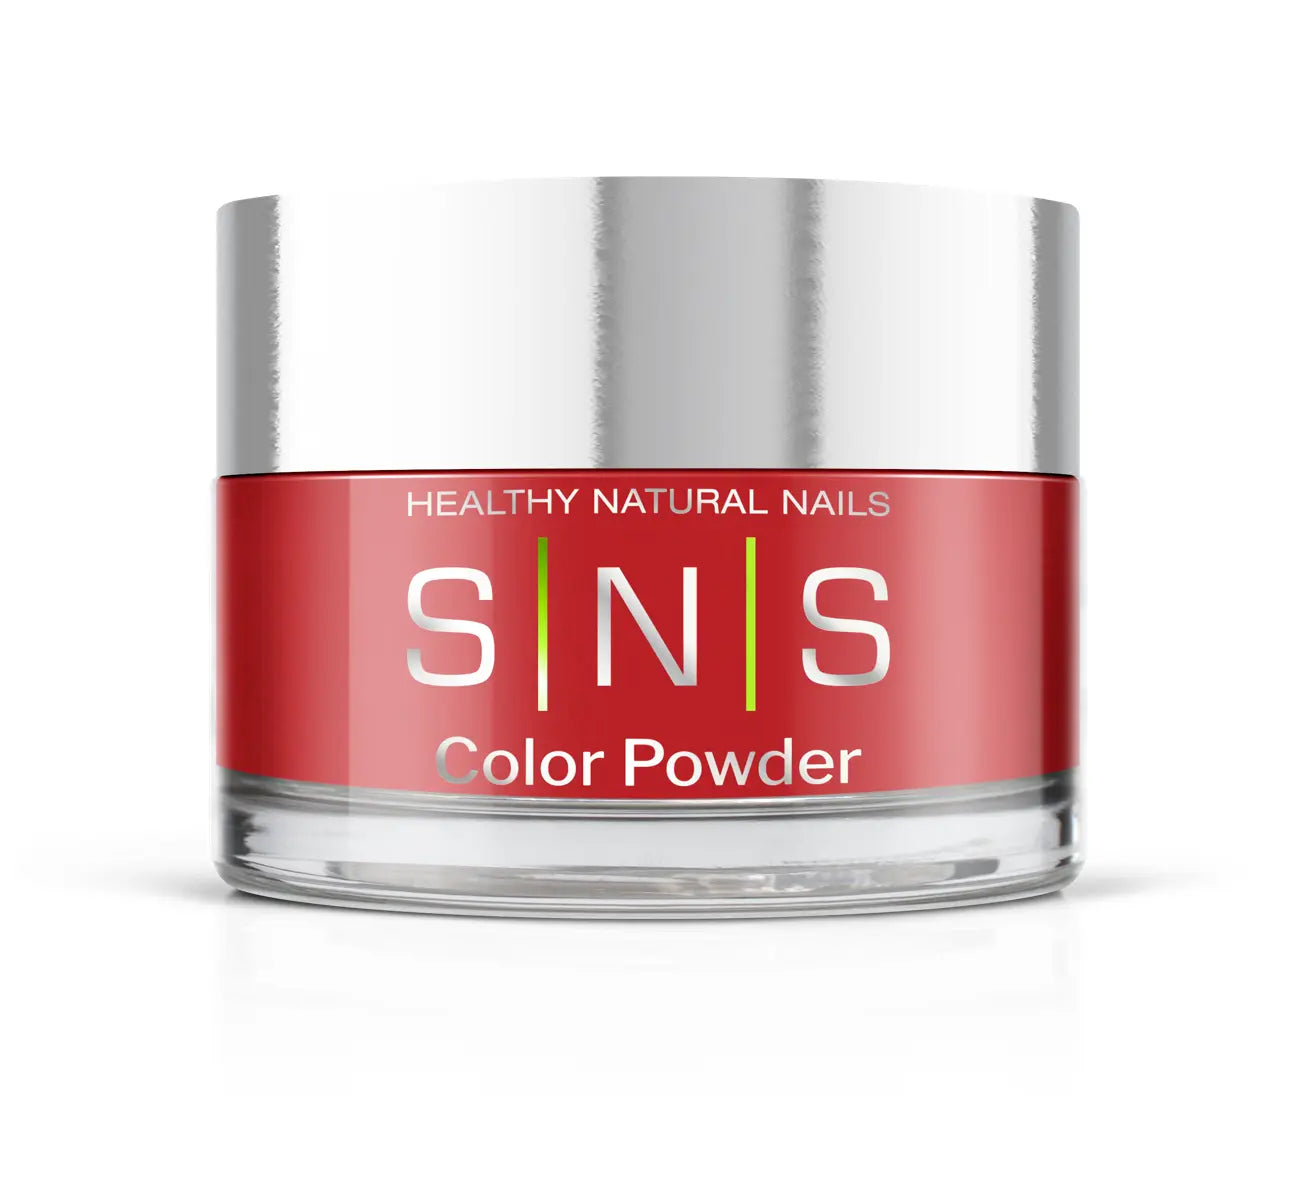
Type: Dip-Only Powder
SNS Dip-Only Powder - Jet Set Red - Red Cream Colors - 0.5oz (DIY)

Type: Dip-Only Powder
SNS Dip-Only Powder - Kingle - Metallic Glitter Colors - 0.5oz (DIY)

Type: Dip-Only Powder
SNS Dip-Only Powder - Kona Coast- Green Glitter Colors - 0.5oz (DIY)

Type: Dip-Only Powder
SNS Dip-Only Powder - La Tour Eiffel - Gray Shimmer Colors - 0.5oz (DIY)
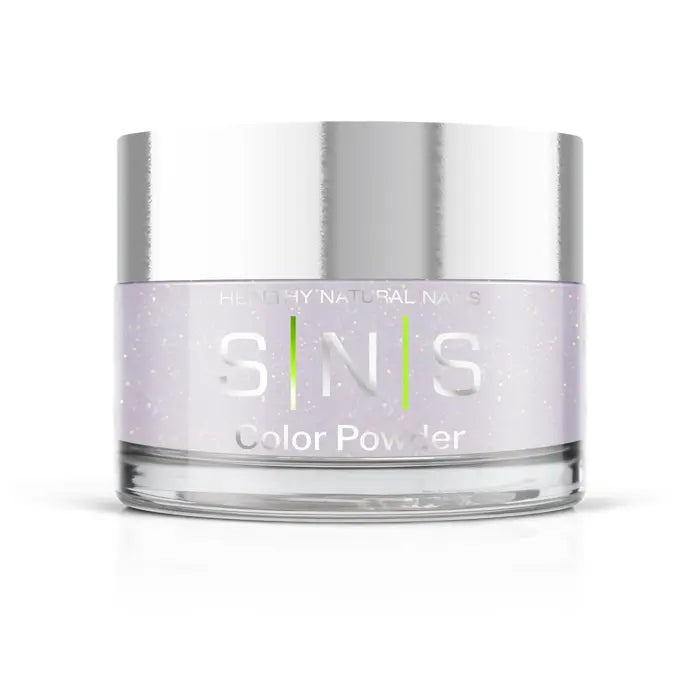
Type: Dip-Only Powder
SNS Dip-Only Powder - Lafitenia Lodge - White, Purple, Gray Glitter Colors - 0.5oz (DIY)

Type: Dip-Only Powder
SNS Dip-Only Powder - Lake Placid- Green Cream Colors - 0.5oz (DIY)
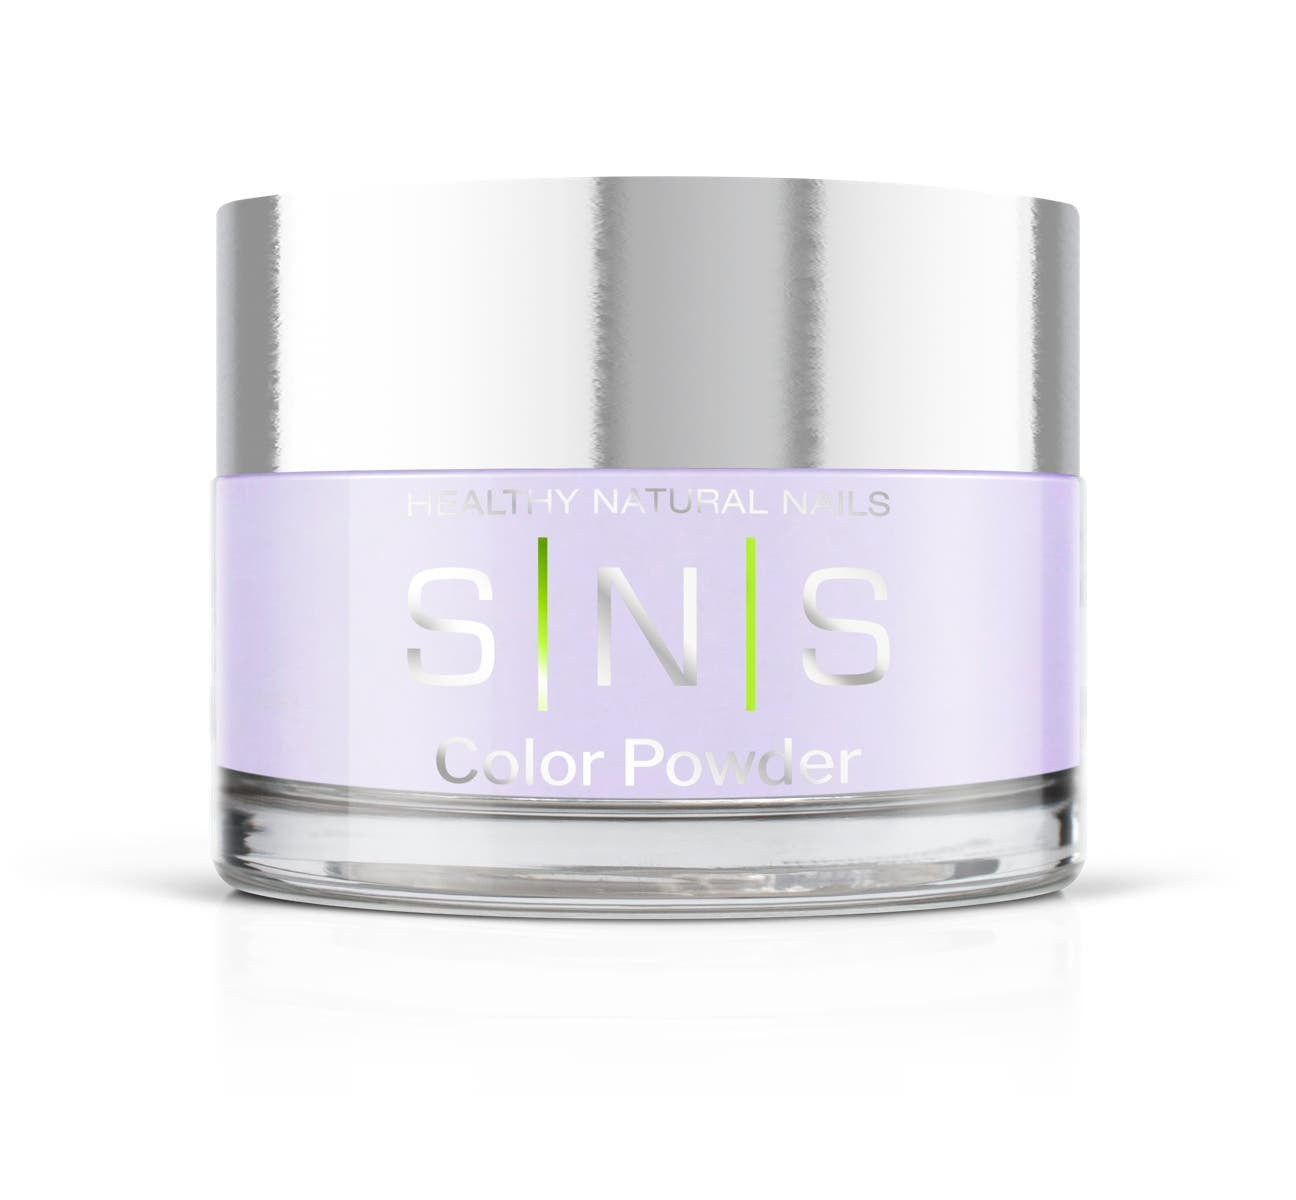
Type: Dip-Only Powder
SNS Dip-Only Powder - Lavender Mist - Purple Cream Colors - 0.5oz (DIY)
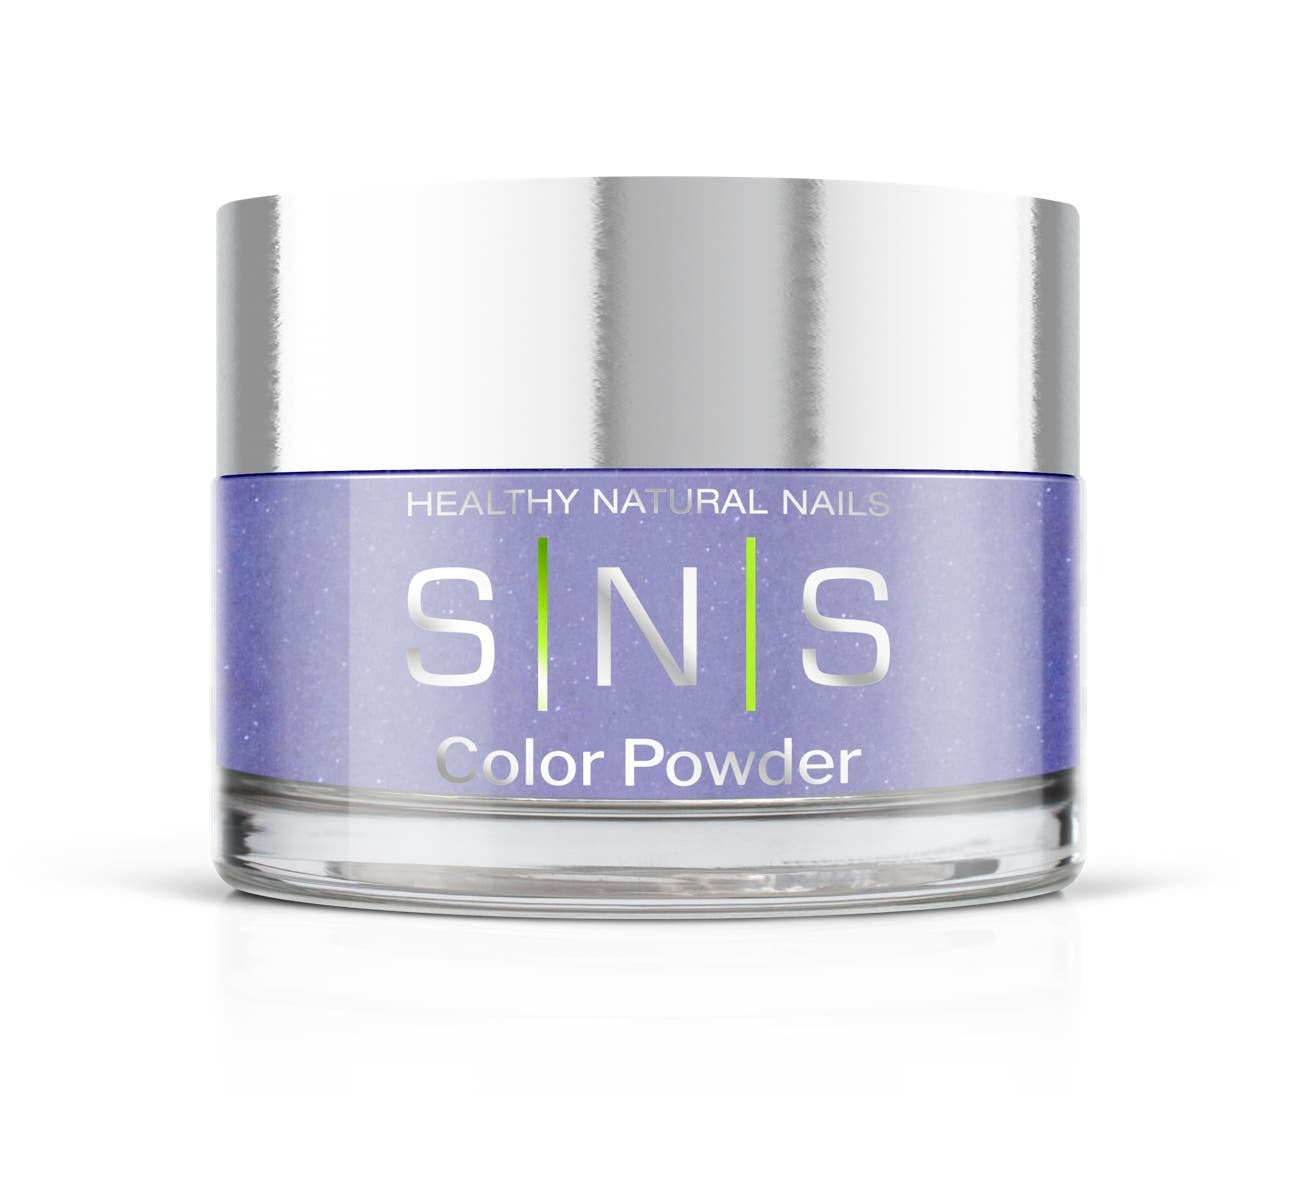
Type: Dip-Only Powder
SNS Dip-Only Powder - Lavender Oil Massage - Purple Cream Colors - 0.5oz (DIY)
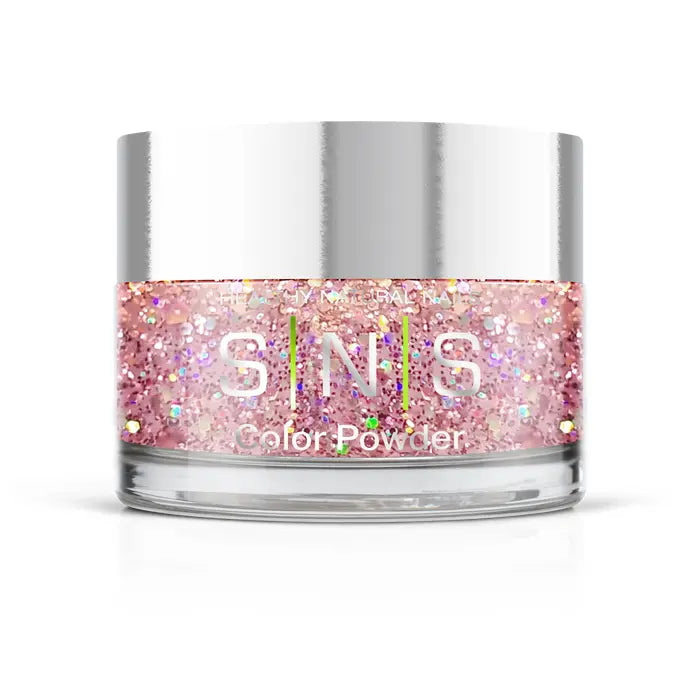
Type: Dip-Only Powder
SNS Dip-Only Powder - Lavender Waxbill - Pink Glitter Colors - 0.5oz (DIY)

Type: Dip-Only Powder
SNS Dip-Only Powder - Le Jardin Secret - Pink Cream Colors - 0.5oz (DIY)
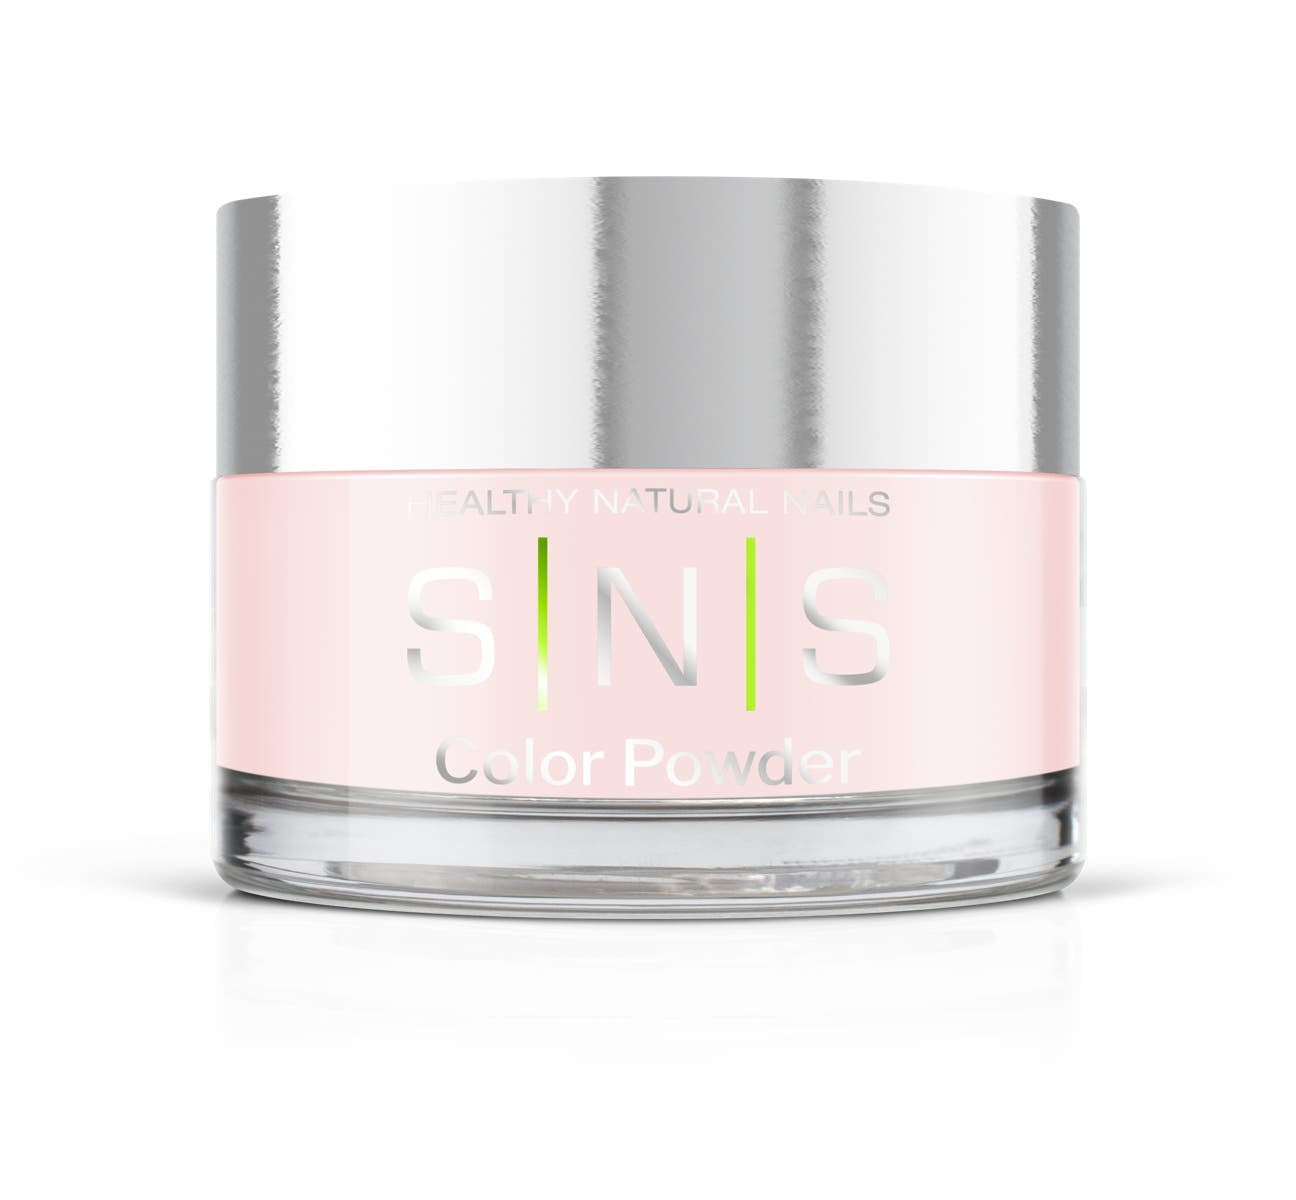
Type: Dip-Only Powder
SNS Dip-Only Powder - Les Mis - White, Pink Cream Colors - 0.5oz (DIY)

Type: Dip-Only Powder
SNS Dip-Only Powder - Little Glow Worm- Yellow Neon Colors - 0.5oz (DIY)

Type: Dip-Only Powder
SNS Dip-Only Powder - Love Letter Pink - Pink Cream Colors - 0.5oz (DIY)
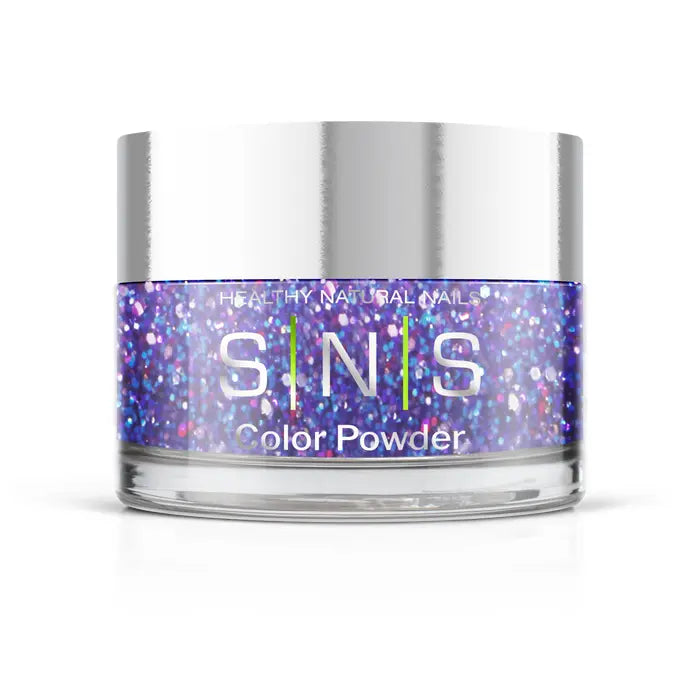
Type: Dip-Only Powder
SNS Dip-Only Powder - Macaroni Chill- Purple Glitter Colors - 0.5oz (DIY)
Frequently asked questions
Do I need a UV lamp for SNS dip powder?
No. Dip powder cures chemically through the activator, so nothing on this page needs a lamp. That is the practical difference between dip and gel at home: gel sits wet until you cure it under UV or LED, while dip is dry once the activator has done its work and you have waited out the four minutes. It also means you can finish a set anywhere you have a flat surface and good light.
What is in the SNS Dip Powder Nail Kit?
The Color kit holds three 0.5oz powders (Jet Set Red, Flamenco Dress and Foundation), a French dip mold, and all five liquids: base coat, activator, top coat, brush cleaner and the Signature Serum. The French Manicure kit swaps the colors for Classic White and Soft Pink, and adds nail prep pads and two replacement brushes. Both are $79.99, and both ship with the printed directions.
How long does a dip powder manicure last?
Most people get a few weeks out of a set, but prep moves that number more than anything else. Oil left on the nail plate before the base coat goes on is the usual reason a set lifts early, which is why the wipe with alcohol or acetone is not an optional step. Sealing the free edge with the top coat matters nearly as much. Nail shape and what you do with your hands account for the rest.
Do I have to buy a whole kit again when I run out?
No, and most people should not. The liquids outlast the powder by a wide margin, so a second purchase is usually one jar of color at $11.99 from the dip-only powder range. When a bottle does run dry, the base coat, activator, top coat, brush cleaner and Signature Serum are all sold on their own in the 0.34oz DIY size.
What is the difference between the DIY kits and the Pink and White Student Kits?
The two DIY kits are for one person doing their own nails: color or French, five liquids, one box, $79.99. The three Student Kits are for people training as nail techs. They carry the pink and white workflow with Gel Base, Gel Top, Gelous Base and Sealer Dry rather than the DIY liquids, and they step up in scope: #3 is the full set, #4 adds Natural Fill, and #5 adds Sunscreen powder.
What comes in a dip powder kit?
A dip set needs four things in the right order: a base coat the powder can grab, the powder itself, an activator that hardens the layers, and a top coat that seals the edge. No lamp. Dip cures chemically rather than under UV, and that one difference is why the whole system travels so well from a salon station to a kitchen table where nobody owns a lamp and nobody particularly wants to buy one.
We make all four, and we mill the powders fine, which is why the color lays down evenly instead of sitting grainy on the nail. That matters more at home than in a salon. You don't have a tech smoothing the surface for you. A kit is those four liquids plus enough powder to finish a set, boxed together so you aren't standing in front of a shelf guessing which bottle pairs with which.
This page holds all of it: 5 kits, the 5 liquids sold on their own for when a bottle runs out, and 110 colors in the 0.5oz DIY jar. Use the filters on the left to jump straight to one group.
The five SNS kits, side by side
Two of them are built for someone starting at home. Three are the Pink & White Student Kits, which nail students and new techs buy because they carry the full pink and white workflow, not just color.
| Kit | What is inside | Best for | Price |
|---|---|---|---|
| Dip Powder Nail Kit, Color | Jet Set Red, Flamenco Dress and Foundation powders (0.5oz each), French dip mold, base coat, top coat, activator, brush cleaner, Signature Serum | Your first color set at home | $79.99 |
| Dip Powder Nail Kit, French Manicure | Classic White, Soft Pink and Foundation powders (0.5oz each), French dip mold (5 ct), base coat, top coat, activator, brush cleaner, Signature Serum, nail prep pads (5 ct), replacement brushes (2 ct) | A French set at home, most tools included | $79.99 |
| Pink & White Student Kit #3 | French White, Natural Pink, Natural Set, French dip moulding, Gel Base, Gel Top, Gelous Base, Sealer Dry, brush-on glue, brush saver, Vitamin Oil | Learning the pink and white set | $181.00 |
| Pink & White Student Kit #4 | Everything in Kit #3, plus Natural Fill | Learning fills as well as full sets | $212.00 |
| Pink & White Student Kit #5 | Everything in Kit #4, plus Sunscreen powder | The full course kit | $243.00 |
The two DIY kits cost the same. So the only real question between them is whether you'd rather start with color or with a French, and if you change your mind later it costs you nothing, because the French dip mold is in both boxes.
Should you buy a kit or build your own?
Worth doing the arithmetic. It goes one way for a beginner and the other way entirely for someone who is restocking.
Bought separately, the liquids are $10.99 each for the base coat, activator, top coat and brush cleaner, and $9.49 for the Signature Serum. Colors are $11.99 a jar. Add three powders to those five bottles and you are already past the $79.99 the kit costs, and you still do not have the French dip mold.
So for a first set the kit wins, on price and on not having to work out what pairs with what. After that it flips. The liquids outlast the powder by a wide margin, so the second time round you're usually buying a single jar of color rather than another box. That is what the dip essentials collection is for.
One case where building your own is the better call: you already own the liquids and you want a shade the kits do not carry. Then skip the box and go to the dip-only powder range.
What each liquid does
- Dip Base Coat (purple cap). The layer the powder sticks to. Thin coats, and keep the second and third layers up to the cuticle line but not over it. Thick base is the single most common reason a home set comes out lumpy, and it's the one mistake that still shows in a photograph no matter how good the color underneath it happens to be.
- Dip Activator. Hardens the powder layers. Two coats, applied after the powder and before the top coat. Wipe the brush on a lint-free towel before it goes back in the bottle, or color travels into the activator and stays there.
- Dip Top Coat. Seals and gives the shine. Two fast, thin coats read better than one slow thick one, and the edge of the nail needs sealing or the set lifts there first.
- Brush Cleaner. Soak a stiffening brush for 3 to 5 minutes. It also keeps the base and sealer bottles clean, which is the part people skip and then wonder why the base went cloudy.
- Signature Serum (yellow cap). Cuticle oil with safflower, silk protein, vitamins A, D3, B5 and E, and calcium. It is aftercare, not part of the set, and it is the cheapest thing on this page.
The base and the activator are formulated as a pair. Mixing our base with another brand's activator is where most compatibility complaints start.
How do you do a dip set at home?
The short version of our full walkthrough. Read the complete DIY dip powder guide before your first set, and practice once on a swatch rather than on your own hand.
- Prep. Wash your hands, push the cuticles back gently, and never cut them. Clip and file to shape, filing from the outside corner in rather than sawing back and forth.
- Buff each nail smooth, then wipe with alcohol or acetone on a cotton pad to strip the oils.
- Apply a thin layer of base coat to three quarters of the nail, then dip straight into Foundation powder at a 45 degree angle. Tap off the excess.
- Second layer of base, this time up to the cuticle line, and dip into Foundation again.
- Third thin layer of base, then dip into your color. Repeat the base and color once more, so you finish with two coats of Foundation and two of color.
- Brush the loose powder away, then apply activator over the whole nail. Wait four minutes. Tap the nail with the end of the dust brush: a clicking sound means it is dry.
- File and buff out any bumps, brush the dust off, then rinse with water only. No soap at this stage.
- Second coat of activator, wait three minutes. Then two thin coats of top coat, sealing the free edge each time, three minutes between them.
- Finish with the Signature Serum at the cuticle line and a hand cream.
When the set comes off, do it properly rather than picking. Our guide on removing dip powder at home covers the soak method and how long to leave it.
Fixing the three things that usually go wrong
- The surface is bumpy or thick. Almost always too much base coat. Thin layers, and stop short of the cuticle on the first pass. You can also file the bumps out between the first and second activator coats, which is exactly why that step sits where it does.
- The top coat dries dull instead of glossy. Usually the activator has not finished. Give the first coat the full four minutes and use the tap test. A second reason is one heavy top coat instead of two thin ones.
- The brush goes stiff or the base turns cloudy. Powder is getting back into the bottle. Wipe the activator brush before returning it, and soak the brush in Brush Cleaner for 3 to 5 minutes when it starts to drag.
SNS dip needs no UV lamp. Our kits are made in the USA. If you're still weighing dip against gel before you buy anything at all, we put the two systems side by side in gel or dip powder.