


Shop by type


Type: Poly Gel
SNS PRO Sculpt Poly Gel – 24 Color Collection
Type: Poly Gel
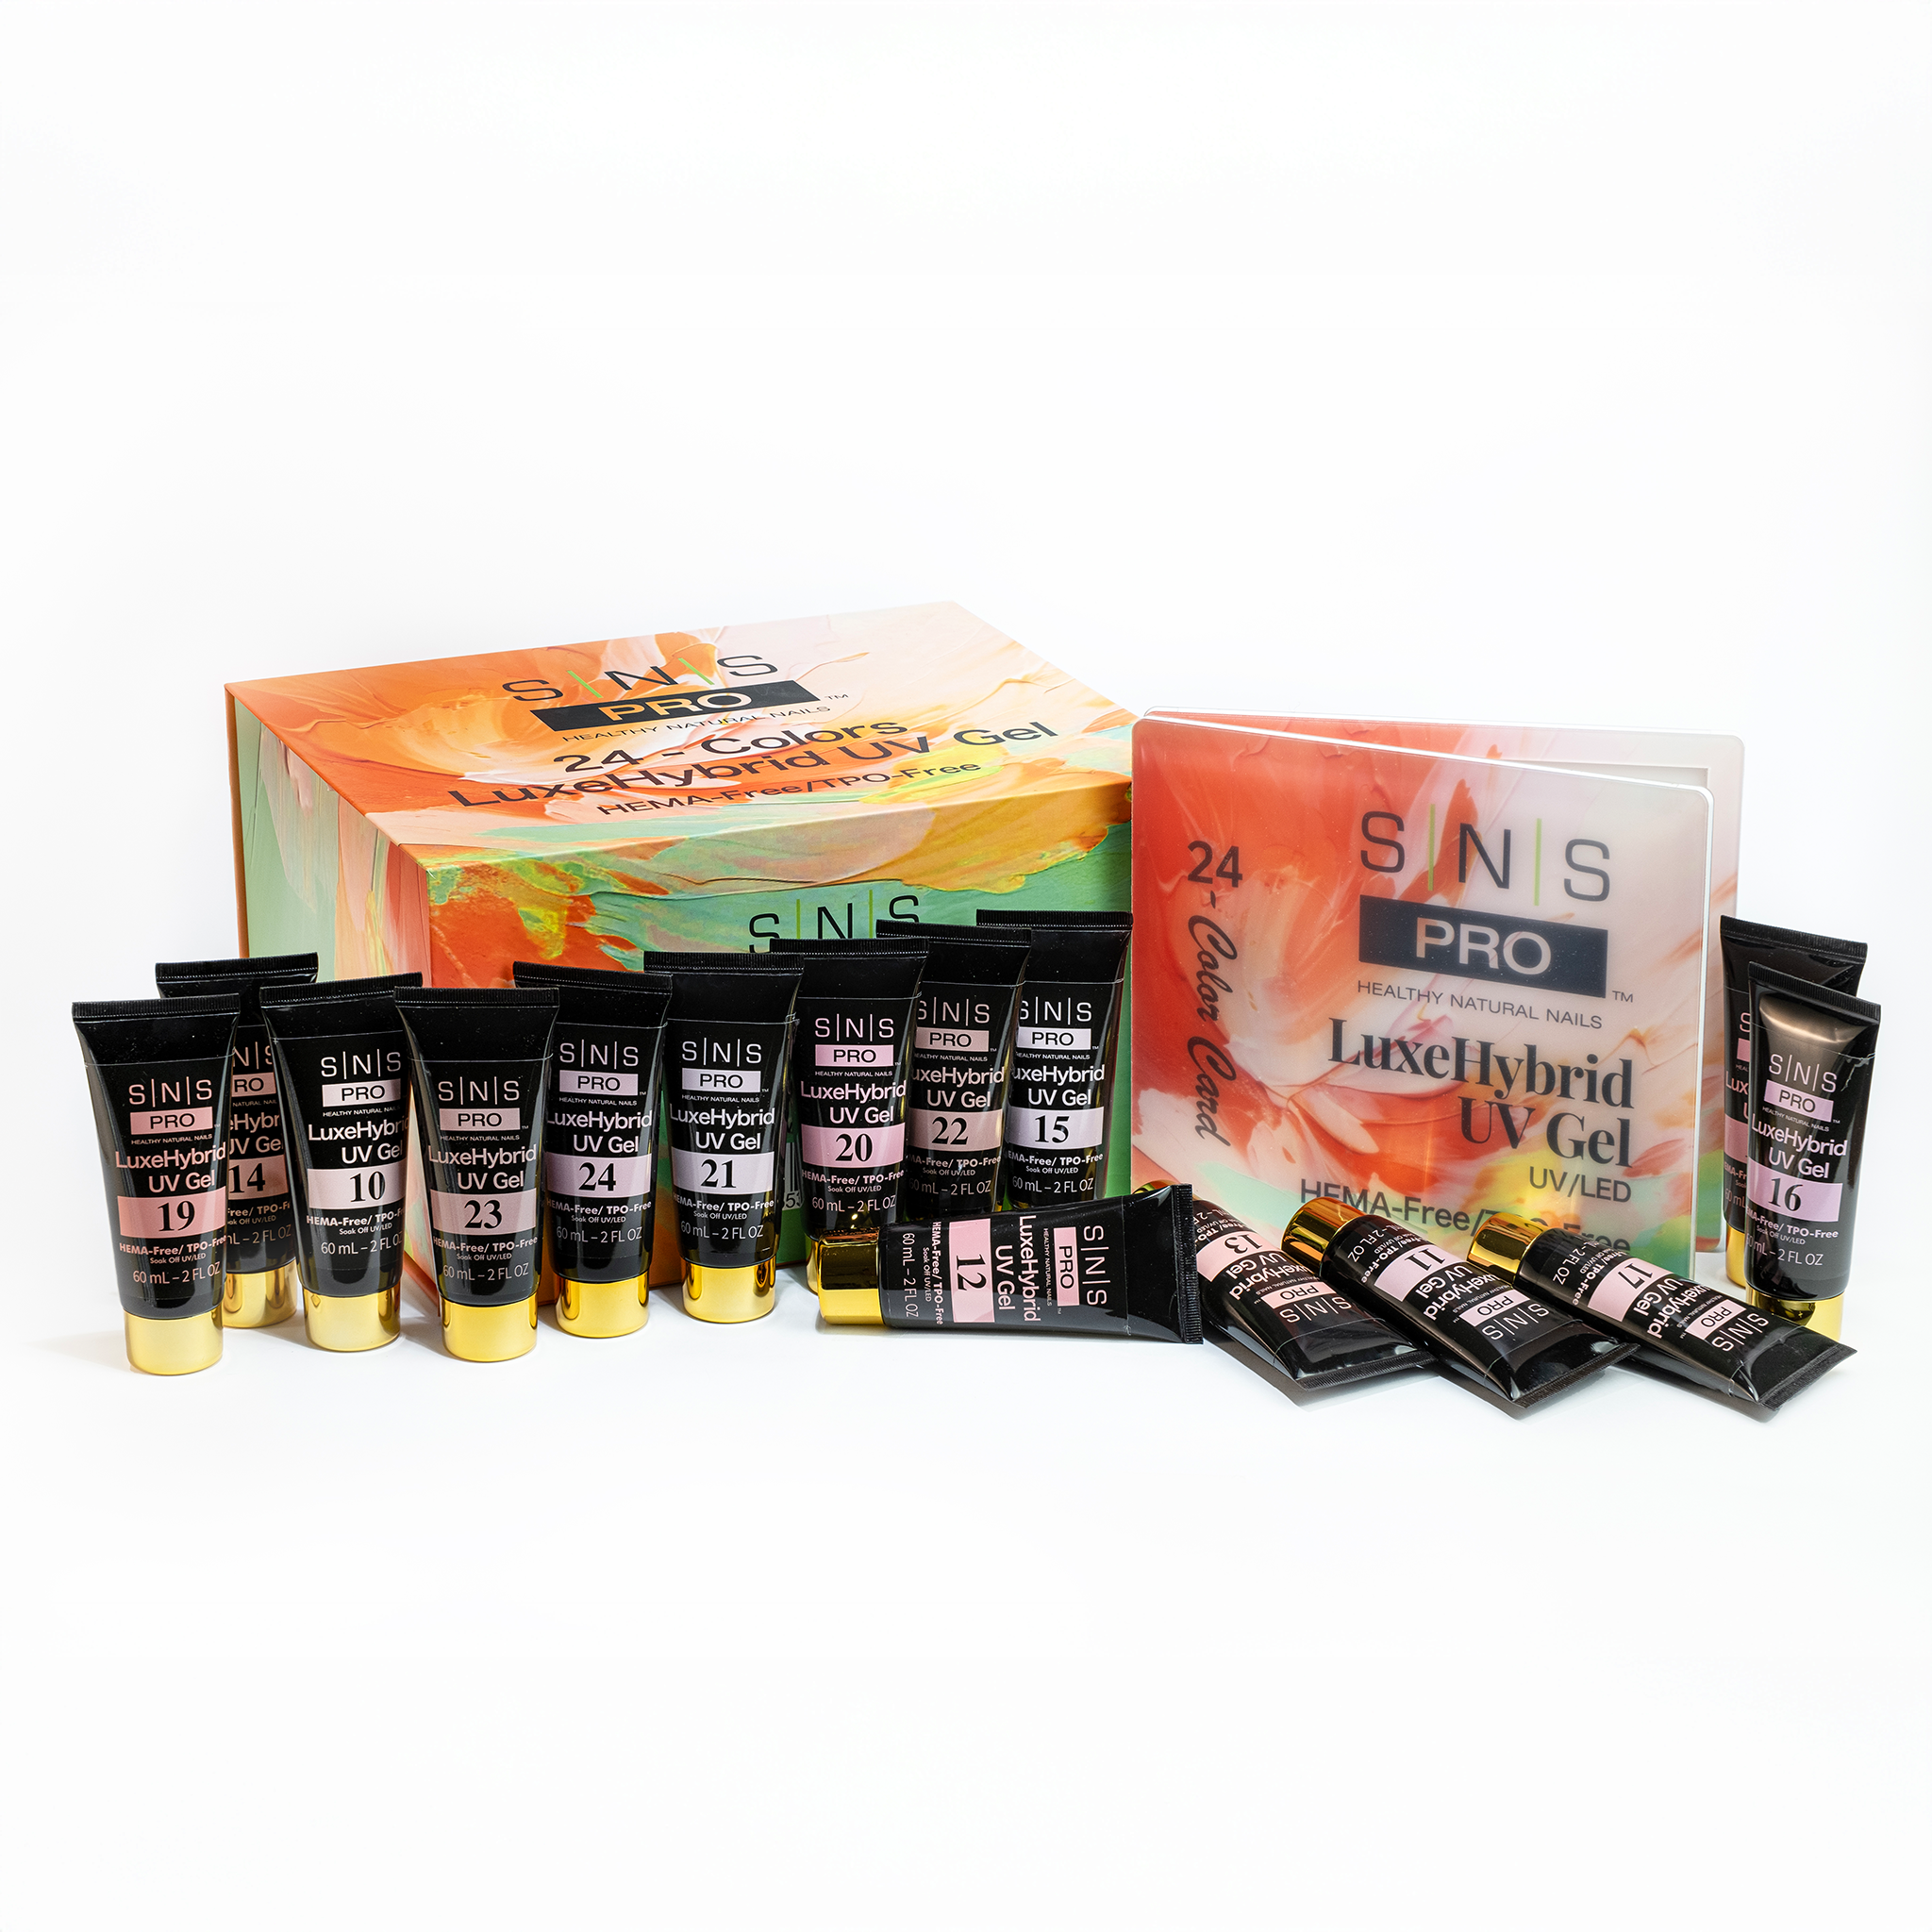
SNS LuxeHybrid UV Gel - Set 24 Colors - 60ml
Type: Poly Gel
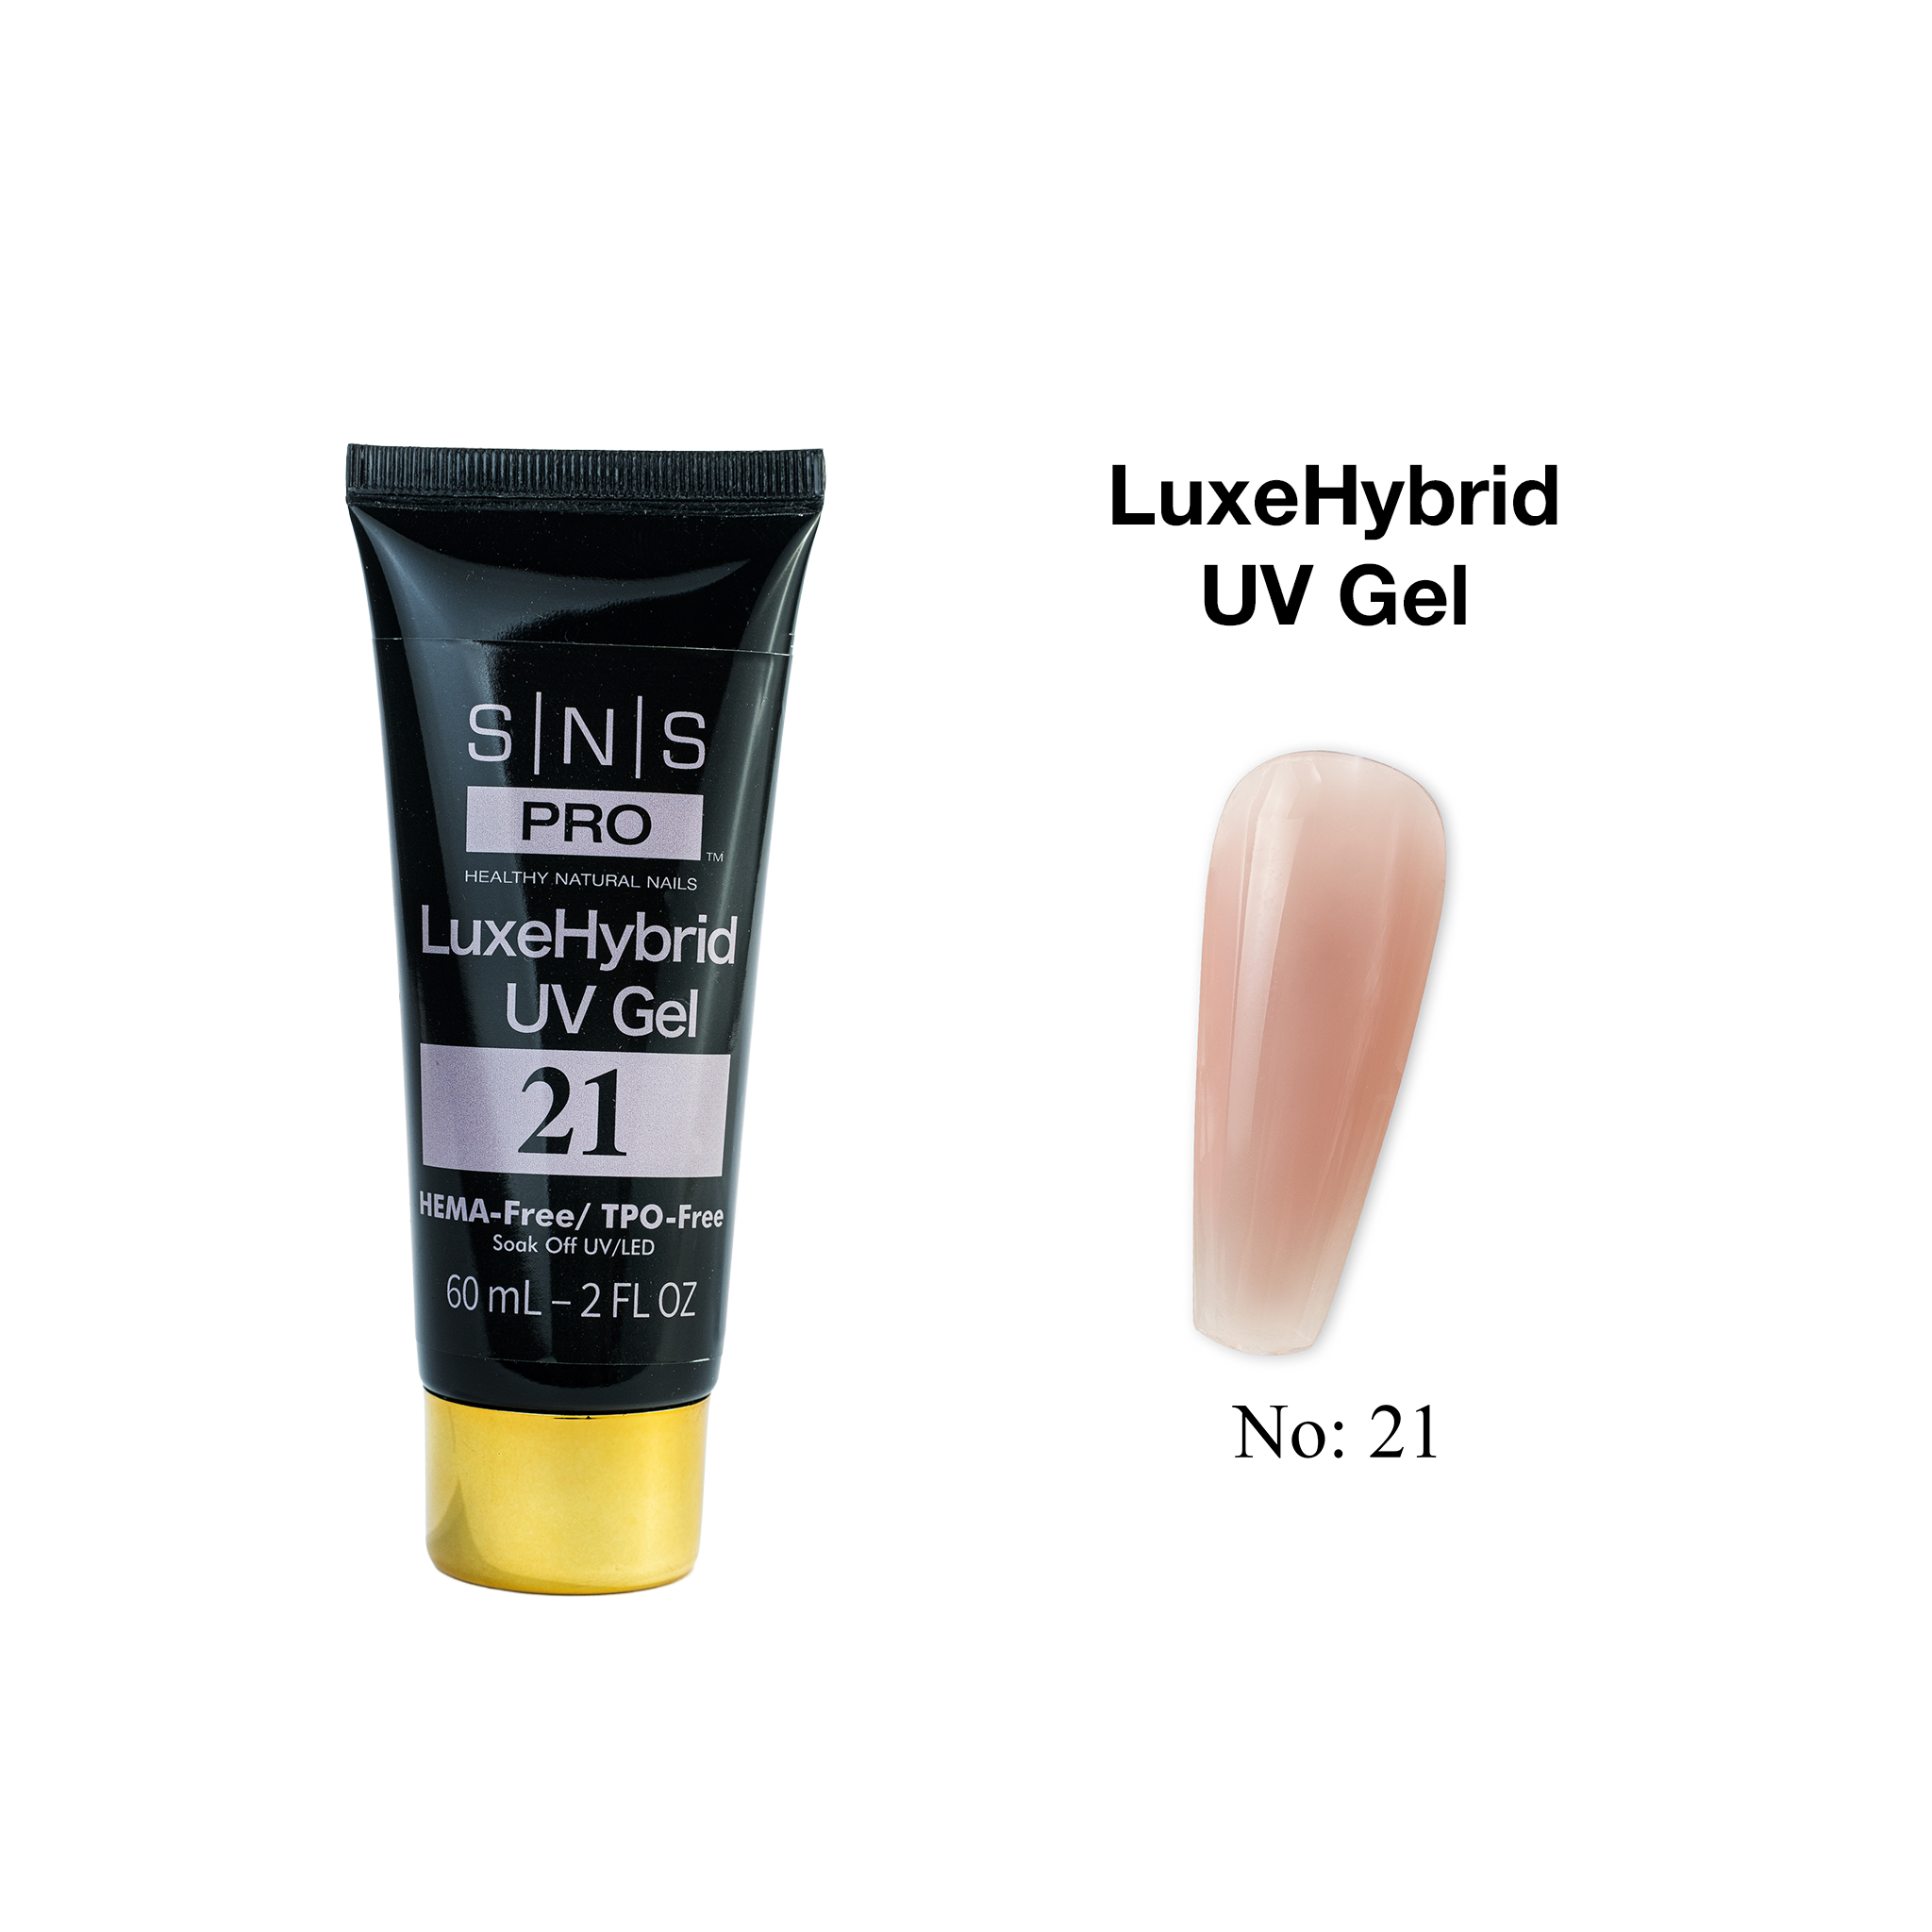
SNS LuxeHybrid UV Gel - 21 - 60ml
Type: Poly Gel
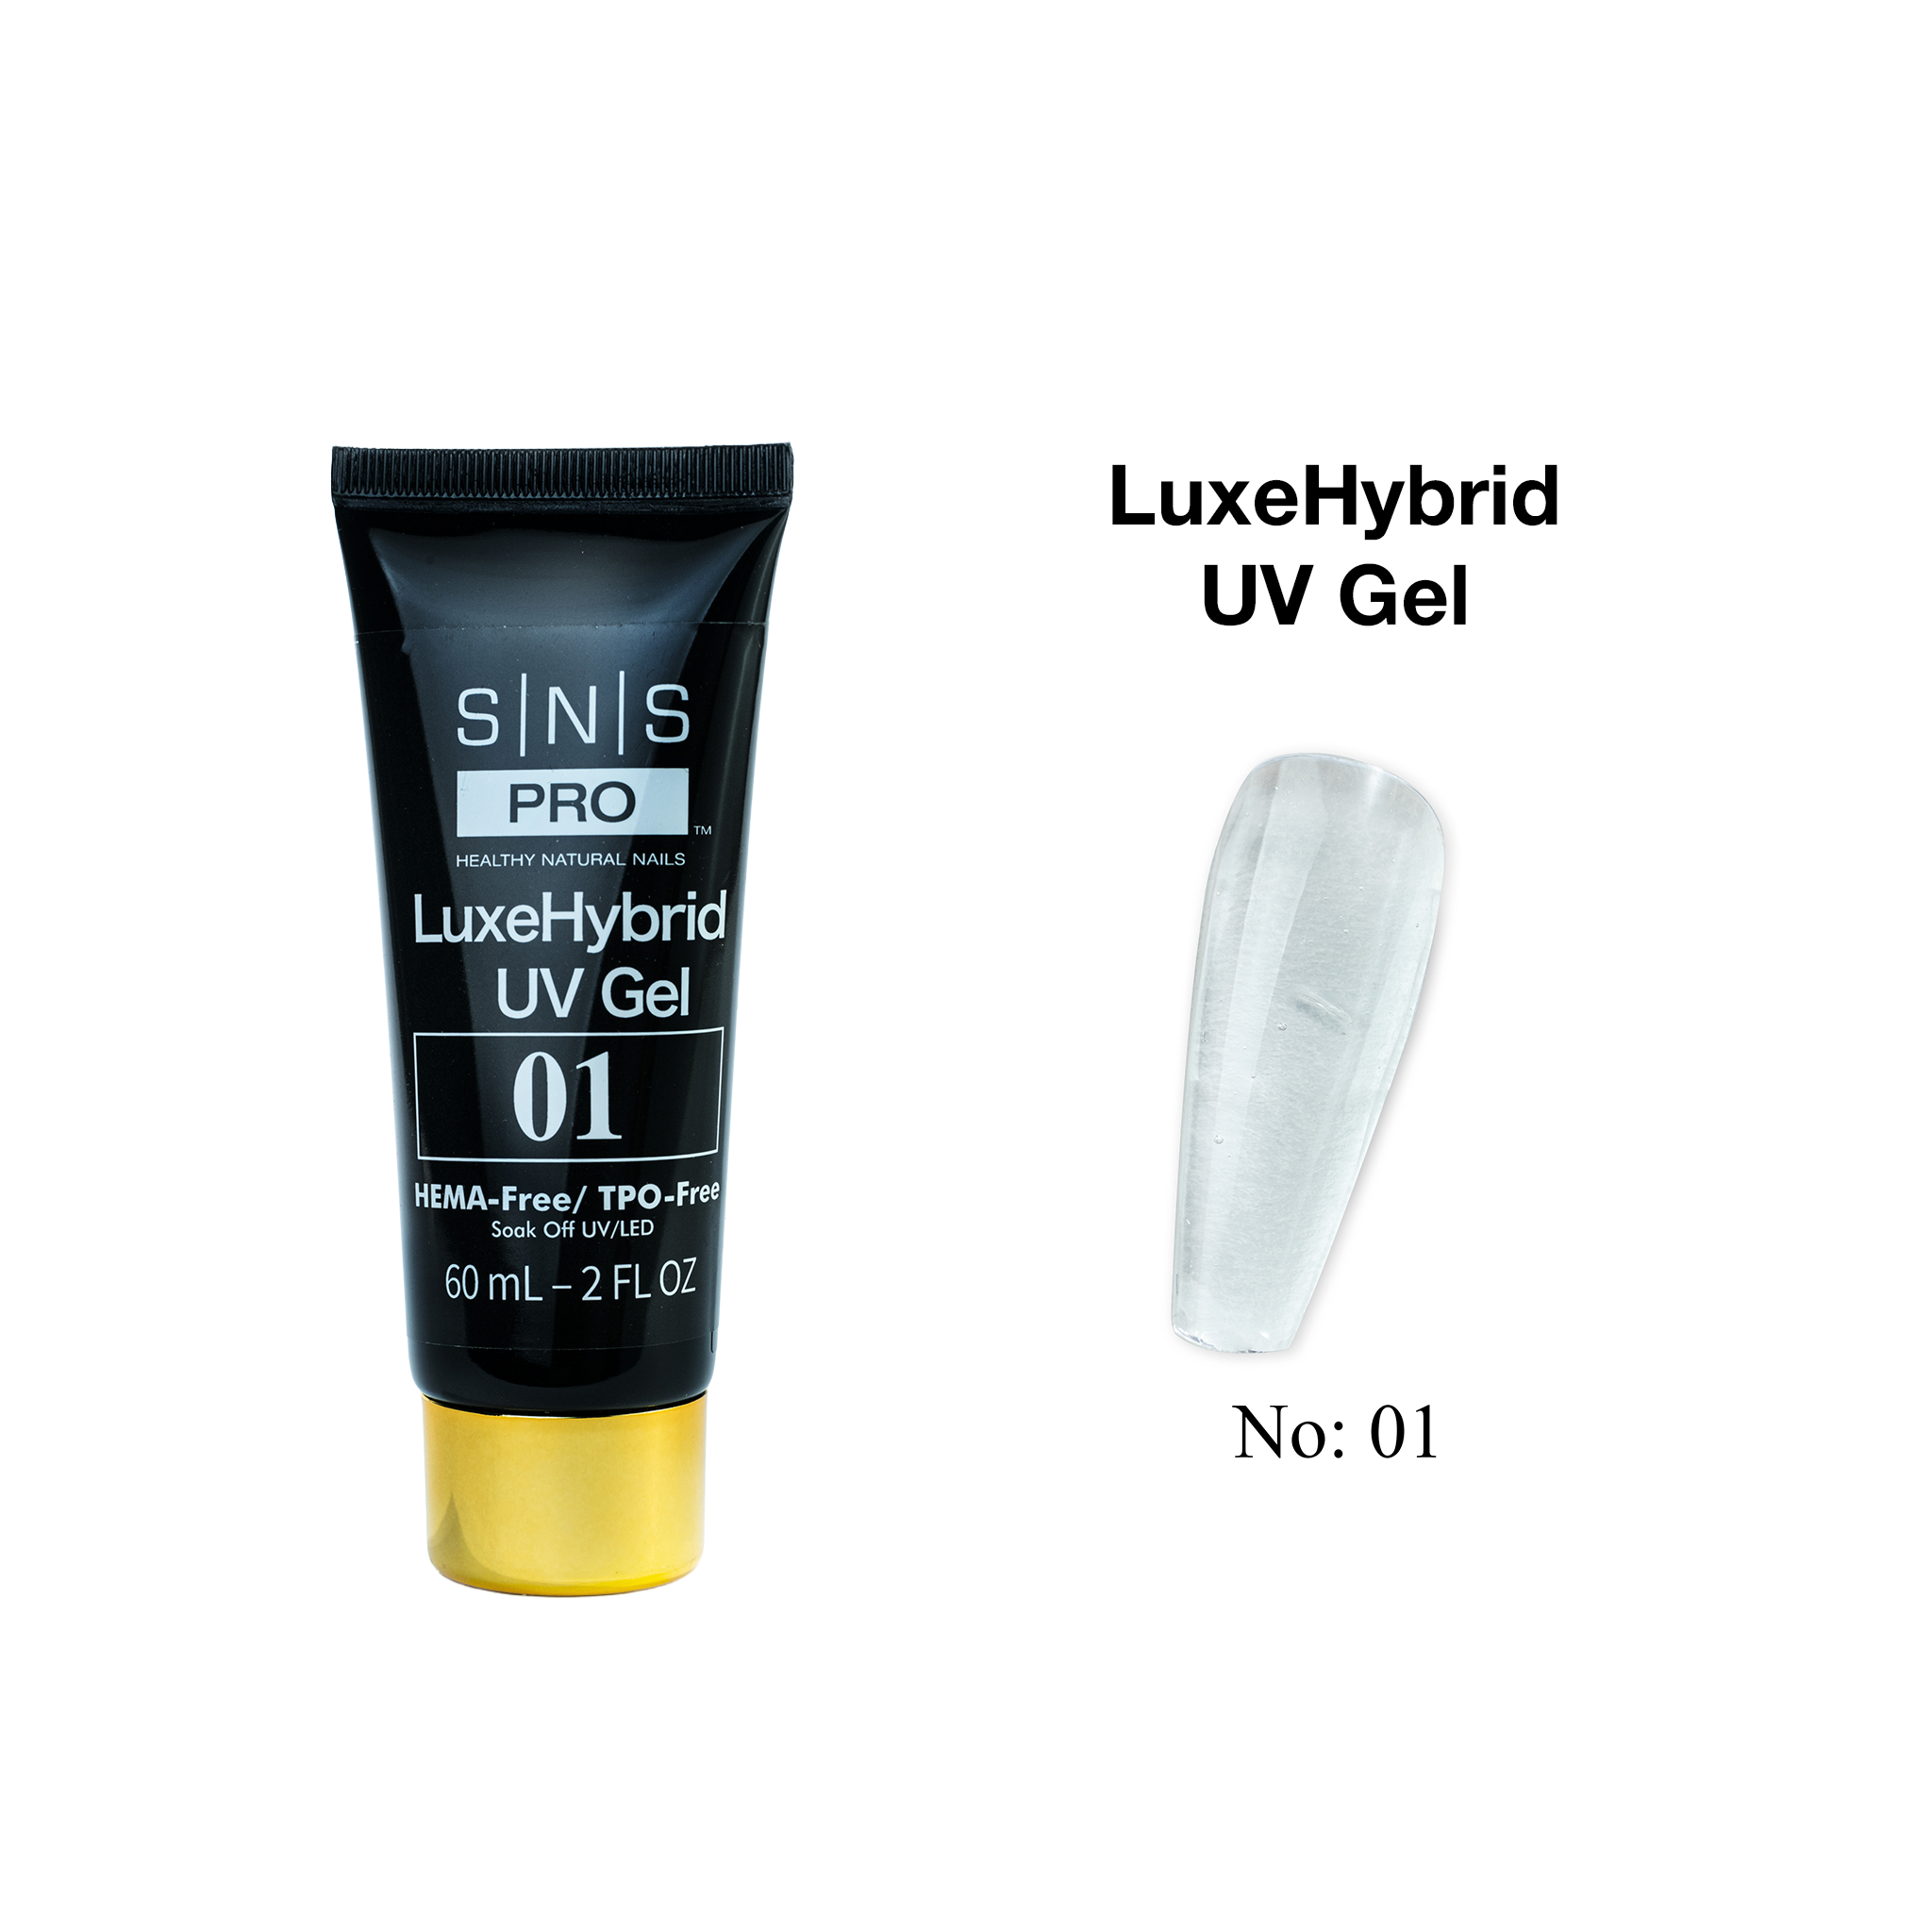
SNS LuxeHybrid UV Gel - 01 - 60ml


Type: Tools & Accessories
5Pcs Plastic Nails Mold Holder Clips


Type: Poly Gel
LAVIS NON STICKY NAIL EXTENSION POLY GEL 26


Type: Tools & Accessories
Dual-Ended Nail Brush Gel Nail Pen


Type: Tools & Accessories
1Pcs Plastic Nails Mold Holder/Clip


Type: Poly Gel
LAVIS Poly Extension Gel Set 36 Colors


Type: Poly Gel
LAVIS NON STICKY NAIL EXTENSION POLY GEL 36


Type: Poly Gel
LAVIS NON STICKY NAIL EXTENSION POLY GEL 35


Type: Poly Gel
LAVIS NON STICKY NAIL EXTENSION POLY GEL 34


Type: Poly Gel
LAVIS NON STICKY NAIL EXTENSION POLY GEL 33


Type: Poly Gel
LAVIS NON STICKY NAIL EXTENSION POLY GEL 32


Type: Poly Gel
LAVIS NON STICKY NAIL EXTENSION POLY GEL 31


Type: Poly Gel
LAVIS NON STICKY NAIL EXTENSION POLY GEL 30


Type: Poly Gel
LAVIS NON STICKY NAIL EXTENSION POLY GEL 29


Type: Poly Gel
LAVIS NON STICKY NAIL EXTENSION POLY GEL 28


Type: Poly Gel
LAVIS NON STICKY NAIL EXTENSION POLY GEL 27


Type: Poly Gel
LAVIS NON STICKY NAIL EXTENSION POLY GEL 25


Type: Poly Gel
LAVIS NON STICKY NAIL EXTENSION POLY GEL 24


Type: Poly Gel
LAVIS NON STICKY NAIL EXTENSION POLY GEL 23


Type: Poly Gel
LAVIS NON STICKY NAIL EXTENSION POLY GEL 22


Type: Poly Gel
LAVIS NON STICKY NAIL EXTENSION POLY GEL 21


Type: Poly Gel
LAVIS NON STICKY NAIL EXTENSION POLY GEL 20


Type: Poly Gel
LAVIS NON STICKY NAIL EXTENSION POLY GEL 19


Type: Poly Gel
LAVIS NON STICKY NAIL EXTENSION POLY GEL 18


Type: Poly Gel
LAVIS NON STICKY NAIL EXTENSION POLY GEL 17


Type: Poly Gel
LAVIS NON STICKY NAIL EXTENSION POLY GEL 16


Type: Poly Gel
LAVIS NON STICKY NAIL EXTENSION POLY GEL 15


Type: Poly Gel
LAVIS NON STICKY NAIL EXTENSION POLY GEL 14


Type: Poly Gel
LAVIS NON STICKY NAIL EXTENSION POLY GEL 13


Type: Poly Gel
LAVIS NON STICKY NAIL EXTENSION POLY GEL 12


Type: Poly Gel
LAVIS NON STICKY NAIL EXTENSION POLY GEL 11


Type: Poly Gel
LAVIS NON STICKY NAIL EXTENSION POLY GEL 10
Frequently asked questions
Do I need slip solution with poly gel?
Only with a gel that asks for it. Classic poly gel is tacky and grabs the brush, so a little slip solution on the brush lets it spread; the Lavis non-sticky range is formulated so it does not tack and needs none. Either way, wet the brush rather than the bead, and never thin the gel itself, because the body of the gel is what holds the shape until it cures.
What is the difference between poly gel and builder gel?
Thickness and what holds the shape. Builder gel is thinner and self-levels, so it settles into a smooth apex on the natural nail and is the better product for overlays, short extensions and repairs. Poly gel stays exactly where it is placed, which is what you need when the shape is coming from a dual form rather than from the nail. If a client wants strength, reach for builder; if she wants length, reach for poly gel and a form.
How long does a poly gel extension take to cure?
Sixty to ninety seconds under a 36W or stronger LED lamp, which is the figure on our poly gel tool listings. Power matters more here than with a color coat, because the bead is thick: a weak lamp cures the surface and leaves the middle soft, which shows up later as a dent or a bend. If the center feels soft after a full cure, build in two passes rather than curing one thick bead for longer.
Which poly gel should a salon start with?
One clear and one natural pink, in the format that suits how you buy. The Lavis non-sticky range is sold by the tube, so you can take two shades and add more later, and it skips the slip solution step. SNS Pro Sculpt comes as the complete 24-shade collection with a swatch book and presentation box, which suits a salon opening the service properly and selling shades from the book. SNS LuxeHybrid is the lighter gel in a 60 ml tube if you want one shade at a time.
What is poly gel?
A sculpting gel thick enough to behave like a solid. Scoop a bead out of the tube, set it on the nail or into a form, shape it with a brush, and it stays exactly where you put it until the lamp cures it. That is the whole appeal: acrylic asks you to work fast before it sets, and a thin builder gel runs before you have shaped it, while poly gel waits. It is the product behind most sculpted extensions that are not made from a tip.
This page is every poly gel we carry, SNS and Lavis, plus the forms, brushes and clips the technique needs. The chips above jump to a single range.
The three ranges
| Range | Format | Shades | Suits |
|---|---|---|---|
| Lavis Poly Gel Non-Sticky | Tube | 36 | Salons building length daily; the non-sticky formula needs no slip solution to spread |
| SNS Pro Sculpt | 15 mL (0.5 oz) brush bottles, sold as the full 24-shade collection with a swatch book and presentation box | 24 | A salon opening a sculpted-extension menu in one order, and selling from the swatch book |
| SNS LuxeHybrid | 60 ml squeeze tube | 24 | Buying one shade at a time; a lighter gel for overlays and natural-nail strength as well as extensions |
Our own two lines are formulated without HEMA and without TPO. Those are ingredients left out of the formula, not a promise about anyone's skin, and they matter most to techs handling gel all day.
Poly gel, builder gel or acrylic?
- Length the client can see: poly gel in a form. It is the reason the category exists.
- Strength on a natural nail: a brush-on builder from Builder Gel. Thinner, self-leveling, faster for a plain overlay.
- Speed across a full set: a soft gel tip from Soft Gel Tips, bonded and cured, with no sculpting at all.
- Coming off acrylic: poly gel is the closest feel, with no monomer smell and no heat spike, and it waits for you instead of setting on the brush.
- Repairs and infills: any of the three; poly gel is the one that rebuilds a broken free edge in a form without a tip.
How do you build an extension in a form?
- Prep. Cuticle back, shine off the plate, dust, dehydrate, and prime or bond if the gel calls for it.
- Size the form. Pick the dual form that sits inside the sidewalls without pressure. A form that pinches leaves a gap at the sides.
- Scoop and place the bead. Lift it with the spatula end of a dual-ended poly gel tool and lay it into the form, thicker where the apex will sit.
- Shape it. Flatten and spread with the brush end. The Lavis non-sticky gel spreads without slip solution; for gels that need it, damp the brush rather than the gel.
- Press and hold. Set the form on the nail from the cuticle edge down so air escapes at the free edge. A holder clip keeps it in place so your hand is free.
- Cure, release, refine. Sixty to ninety seconds under a 36W or stronger LED, pop the form off, file the edge and sidewalls, buff, then color and top from Base & Top Gel.
For an overlay rather than an extension, skip the form: place a bead at the apex on the natural nail, spread it thin toward the cuticle and free edge, and cure. Filing back afterwards goes faster with an e-file from Nail Drills.
What you need besides the gel
- A form or a tip. Poly gel does not hold a shape it was not given. Dual forms are reusable molds; half-cover tips are the other route.
- A poly gel brush. Flat, firm, and ideally paired with a spatula on the other end; the brush page has them.
- Slip solution, only if the gel needs it. The Lavis non-sticky range does not. Never thin the gel itself.
- A lamp with enough power. Both tool listings specify 36W or stronger for a poly gel cure; a thick bead under a weak lamp stays soft in the middle.
- Clips if you build ten nails a set. They free the hand that would otherwise hold the form.
Common problems and what causes them
- Gel sticking to the brush: a gel that needs slip solution, used dry. Damp the brush, not the bead, or switch to the non-sticky range.
- Air pockets under the extension: the form was pressed flat instead of rolled on from the cuticle edge.
- Soft center after curing: the bead was too thick for the lamp time. Cure longer or build in two passes.
- Lifting at the cuticle: gel touching skin, or prep that left shine on the plate.
- Thin, flexible extension: not enough gel at the apex. The apex is where the strength lives; see apex and C-curve.
Removal and infills
Poly gel soaks off like any other soak-off gel, but there is more of it, so the work is in getting the bulk down first. File the top layer and most of the length away with a medium bit, leaving a thin shell, then wrap in acetone for fifteen to twenty minutes and push the softened gel off with a wooden stick in passes. Forcing a lifted edge takes layers of the natural nail with it, which is where the reputation for damage comes from. An infill is usually quicker than a removal: file the regrowth line flat, re-prep the exposed nail, and place a fresh bead over the join rather than rebuilding the whole extension.
Storage and care
- Cap tubes and bottles between nails. Poly gel cures in daylight and in a lamp's spill; a tube left open skins at the nozzle.
- Wipe the spatula and brush with gel cleanser, not acetone, which dries the bristles.
- Clean forms after each use and retire one once the cuticle edge deforms, because the fit is what keeps gel off the skin.
- Stock two shades before twenty: a clear and a natural pink cover most extension work; add the rest once the service books regularly.